前言
在這個年代 Zero Trust 持續被提起,在過往我其實沒有太多使用零信任的經驗,有的話幾乎也都是直接使用 Cloudflare 的 Zero Trust 服務,其餘大部分時候都直接使用 VPN。不過直到最近逐漸有這樣的需求,在網路條件比較嚴格限制的地方 VPN 顯然不一定能成功使用。
而加上之前在 Google 及目前在 Amazon 工作的經驗,兩間公司的內部也大量在採用 Zero Trust 的方式,尤其是 Google 可謂相當全面,這讓我也想要自己來自建一個這樣的服務。
在網路上找到了這款 OAuth2 Proxy,他有辦法基於如 Google、Facebook、Github 這類的提供者來驗證帳號,也算是一種 Zero Trust 了,這篇文章就來講講他怎麼設定。
前置設定
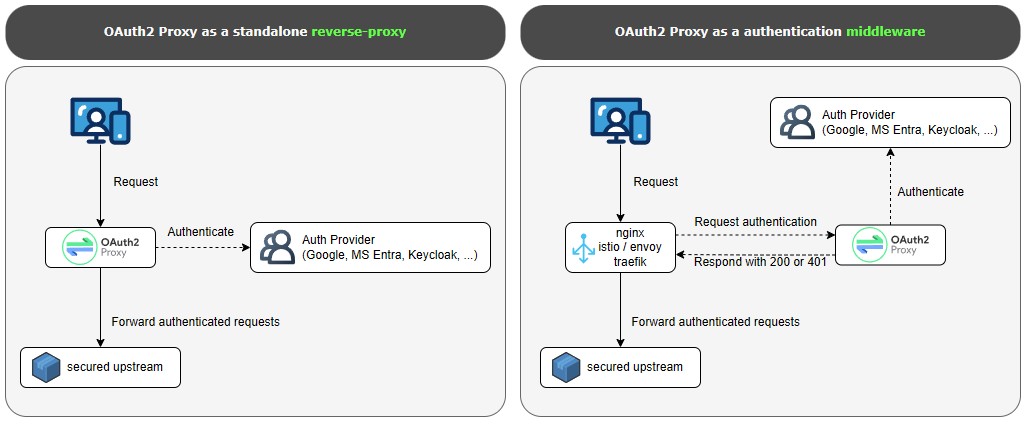
這篇文章會以 Google 作為 OAuth 的服務提供者,並在 Linux 上與 Nginx 結合,走的是下圖右邊這套邏輯,將 OAuth2 Proxy 作為 Middleware 使用。
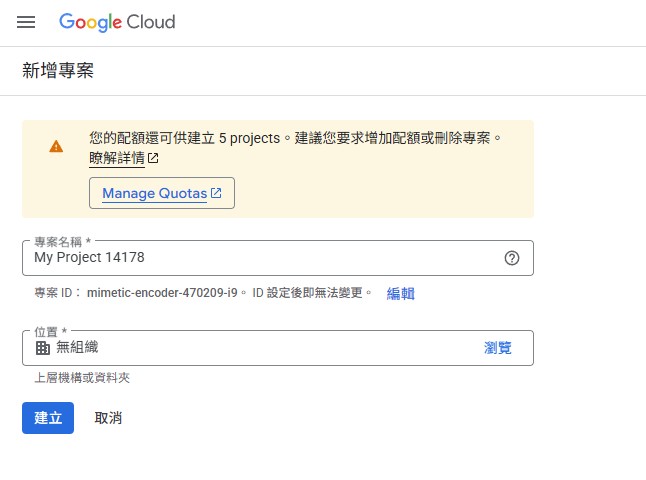
因此,我們需要來設定 Google 這邊,前往 Google Cloud 建立一個新的專案,又或者是你想使用現有的,名字我這邊測試用的就隨便取了。
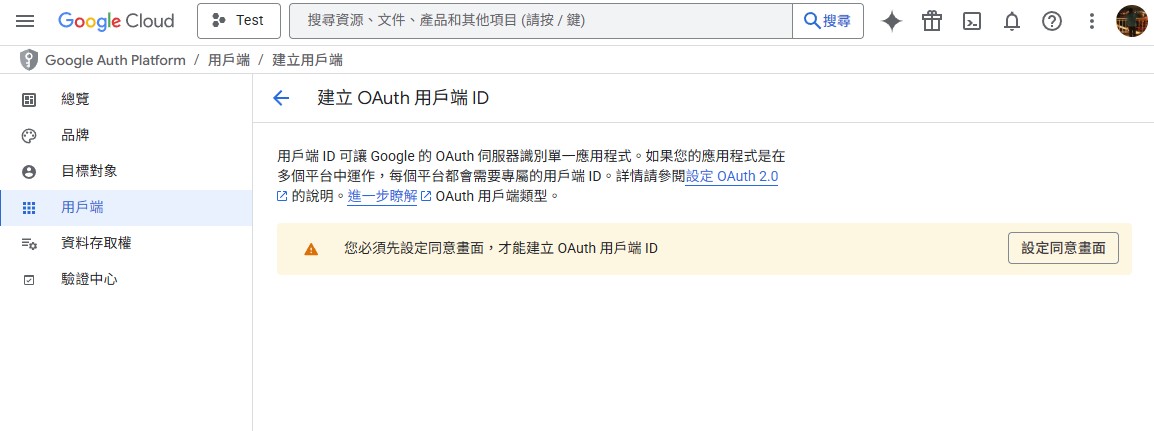
前往「API 和服務」的「憑證」,中間選擇「OAuth 用戶端 ID」。
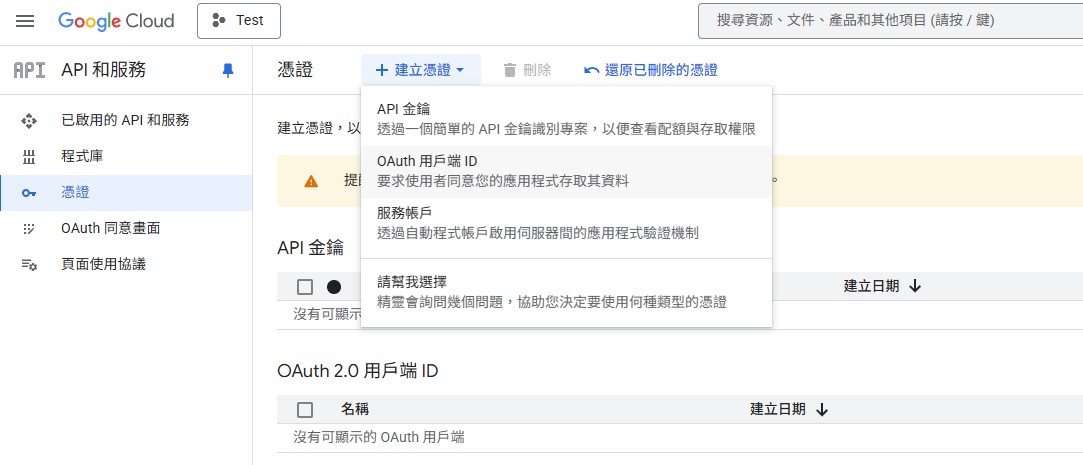
如果是第一次設定,你可能會遇到「您必須先設定同意畫面,才能建立 OAuth 用戶端 ID」,就點去「設定同意畫面」填完就可以了。
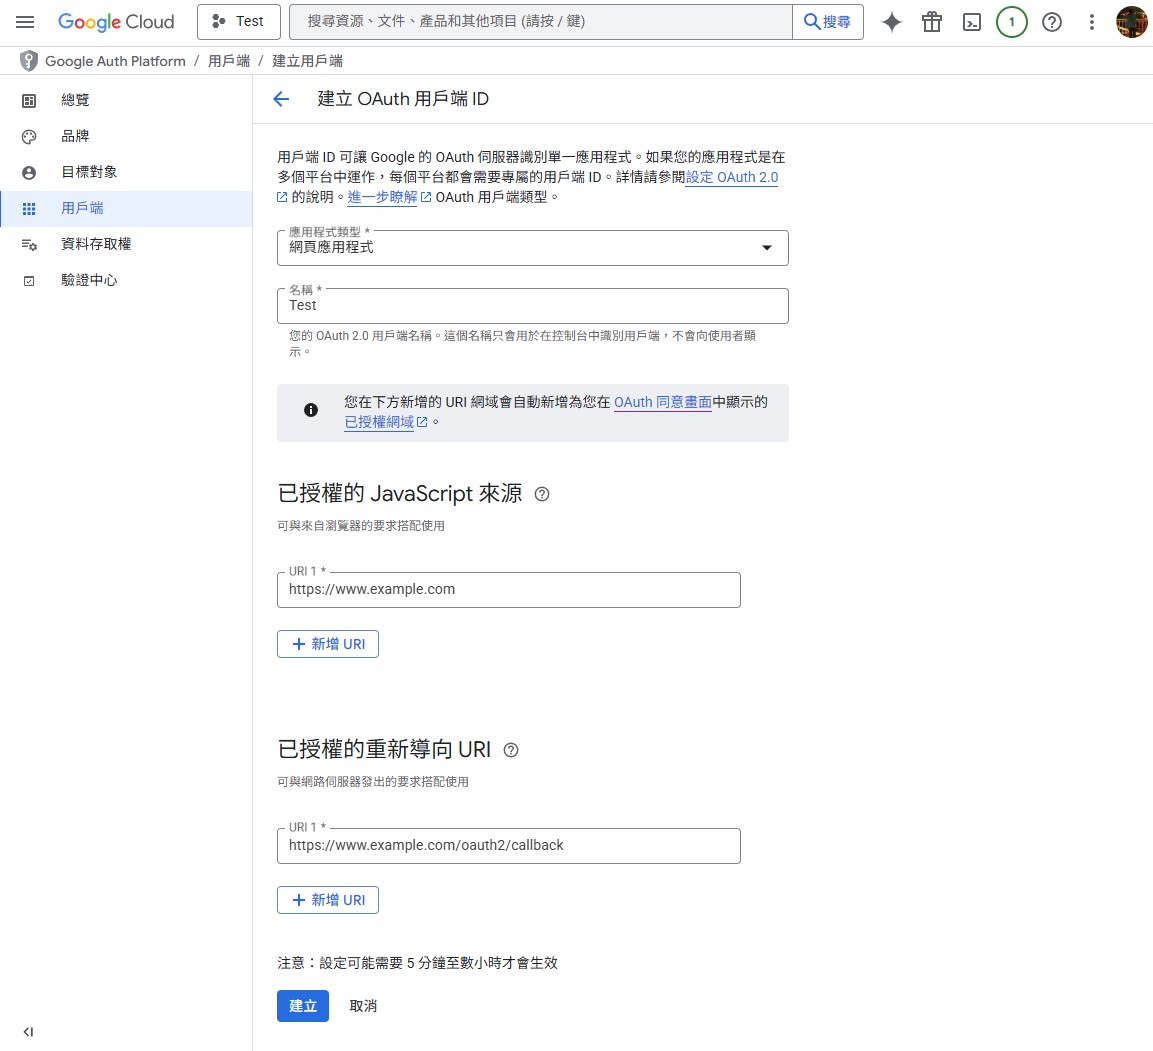
回到「OAuth 用戶端 ID」,應用程式類型選擇「網頁應用程式」,而名稱看你喜好,下面則是填入你想進行驗證的那個網域,重新導向 URI 則是這個網域加上 /oauth2/callback。
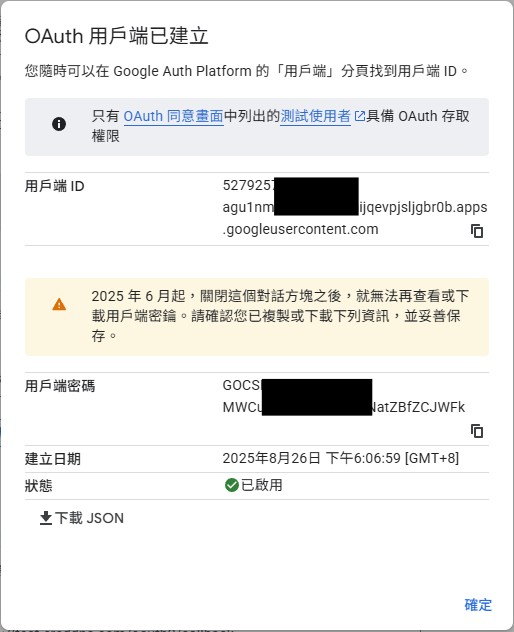
建立完成之後,你需要記錄下這些資訊,這些等等會用到,或是你想直接下載 JSON 保存也可以。
建立環境
接著我們要前往機器設定 OAuth2 Proxy 了!在那之前我們先來安裝 Nginx。
sudo apt-get install -y nginx nginx-extras
然後下載 OAuth2 Proxy,前往他 Github 的 Releases 查看最新版本,寫文章當下是 v7.12.0。
sudo wget https://github.com/oauth2-proxy/oauth2-proxy/releases/download/v7.12.0/oauth2-proxy-v7.12.0.linux-amd64.tar.gz
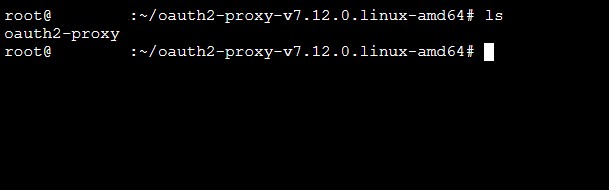
解壓縮他。
sudo tar zxvf oauth2-proxy-v7.12.0.linux-amd64.tar.gz
解壓縮之後,他會生出一個 oauth2-proxy-v7.12.0.linux-amd64 資料夾,裡面放著 oauth2-proxy,我習慣會將他移到 /etc/ 底下。
mv oauth2-proxy /etc/
設定 OAuth2 Proxy
建立一個資料夾,例如我建立在 /var 底下的 auth。
sudo mkdir -p /var/auth && cd /var/auth
建立一個 run.cfg 並填入以下內容,其中有幾個地方需要更改,如 client_id、client_secret 及 cookie_secret。
http_address = "127.0.0.1:4180"
reverse_proxy = true
upstreams = ["http://127.0.0.1:80/"]
pass_basic_auth = true
pass_user_headers = true
pass_host_header = true
set_xauthrequest = true
client_id = "YOUR_CLIENT_ID.apps.googleusercontent.com"
client_secret = "YOUR_CLIENT_SECRET"
scope = "openid email profile"
pass_access_token = false
authenticated_emails_file = "/var/auth/email.txt"
cookie_name = "_oauth2_proxy"
cookie_secret = "YOUR_COOKIE_SECRET"
cookie_expire = "2h"
cookie_refresh = "1h"
cookie_secure = true
其中,client_id、client_secret 是上面前置作業後來產生的資訊,cookie_secret 你可以用下面的方法產出一個隨機的,其他參數則是看你的喜好自己更改。
dd if=/dev/urandom bs=32 count=1 2>/dev/null | base64 | tr -d -- '\n' | tr -- '+/' '-_' ; echo
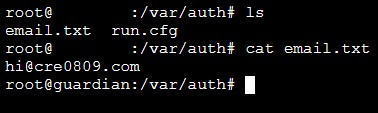
在這個資料夾底下,在建立一個 email.txt,這些 Email 是到時候允許放行的清單,每個 Email 都要在獨立的一行。
設定背景服務
接著我們要為 OAuth2 Proxy 建立一個背景服務,前往 /etc/systemd/system 建立一個檔案 oauth2proxy.service。
cd /etc/systemd/system && sudo vim oauth2proxy.service
貼上以下內容:
[Unit]
Description=Oauth2-Proxy Daemon Service
After=network.target network-online.target nss-lookup.target basic.target
Wants=network-online.target nss-lookup.target

[Service]
Type=simple
ExecStart=/etc/oauth2-proxy --config=/var/auth/run.cfg
WorkingDirectory=/var/auth
Restart=on-failure
RestartSec=5s

[Install]
WantedBy=multi-user.target
保存退出後,使用以下命令使其生效。
sudo systemctl daemon-reload
啟用服務及讓他開機後自動啟動。
sudo systemctl start oauth2proxy && sudo systemctl enable oauth2proxy
設定 Nginx
最後一步了!我們要設定 Nginx,你需要適當的在這裡修改如網域名稱、SSL 檔案跟金鑰,以及最後的 proxy_pass 代理。
server {
    listen 443;
    listen [::]:443;
    server_name www.example.com;
    ssl_certificate /var/ssl/fullchain.pem;
    ssl_certificate_key /var/ssl/privkey.pem;
    server_tokens off;
    more_set_headers Server;

    location /oauth2/ {
        proxy_pass       http://127.0.0.1:4180;
        proxy_set_header Host                    $host;
        proxy_set_header X-Real-IP               $remote_addr;
        proxy_set_header X-Auth-Request-Redirect $request_uri;
    }
    location = /oauth2/auth {
        proxy_pass       http://127.0.0.1:4180;
        proxy_set_header Host             $host;
        proxy_set_header X-Real-IP        $remote_addr;
        proxy_set_header X-Forwarded-Uri  $request_uri;
        proxy_set_header Content-Length   "";
        proxy_pass_request_body           off;
    }

    location = /oauth2/sign_out {
        proxy_pass http://127.0.0.1:4180;
        proxy_set_header Host $host;
        proxy_set_header X-Real-IP $remote_addr;
        proxy_set_header X-Forwarded-Uri $request_uri;
    }

    location / {
        auth_request /oauth2/auth;
        error_page 401 =403 /oauth2/sign_in;

        proxy_set_header Host             $host;
        proxy_set_header X-Real-IP        $remote_addr;
        proxy_set_header X-Forwarded-Uri  $request_uri;
        auth_request_set $user   $upstream_http_x_auth_request_user;
        auth_request_set $email  $upstream_http_x_auth_request_email;
        proxy_set_header X-User  $user;
        proxy_set_header X-Email $email;
        auth_request_set $token  $upstream_http_x_auth_request_access_token;
        proxy_set_header X-Access-Token $token;
        auth_request_set $auth_cookie $upstream_http_set_cookie;
        add_header Set-Cookie $auth_cookie;
        auth_request_set $auth_cookie_name_upstream_1 $upstream_cookie_auth_cookie_name_1;
        if ($auth_cookie ~* "(; .*)") {
            set $auth_cookie_name_0 $auth_cookie;
            set $auth_cookie_name_1 "auth_cookie_name_1=$auth_cookie_name_upstream_1$1";
        }
        if ($auth_cookie_name_upstream_1) {
            add_header Set-Cookie $auth_cookie_name_0;
            add_header Set-Cookie $auth_cookie_name_1;
        }

        location / {
            proxy_pass http://192.168.1.2:80/;
            proxy_set_header Host $host;
        }
    }
}
接著就重啟 Nginx 就結束囉!
sudo systemctl restart nginx
查看成果
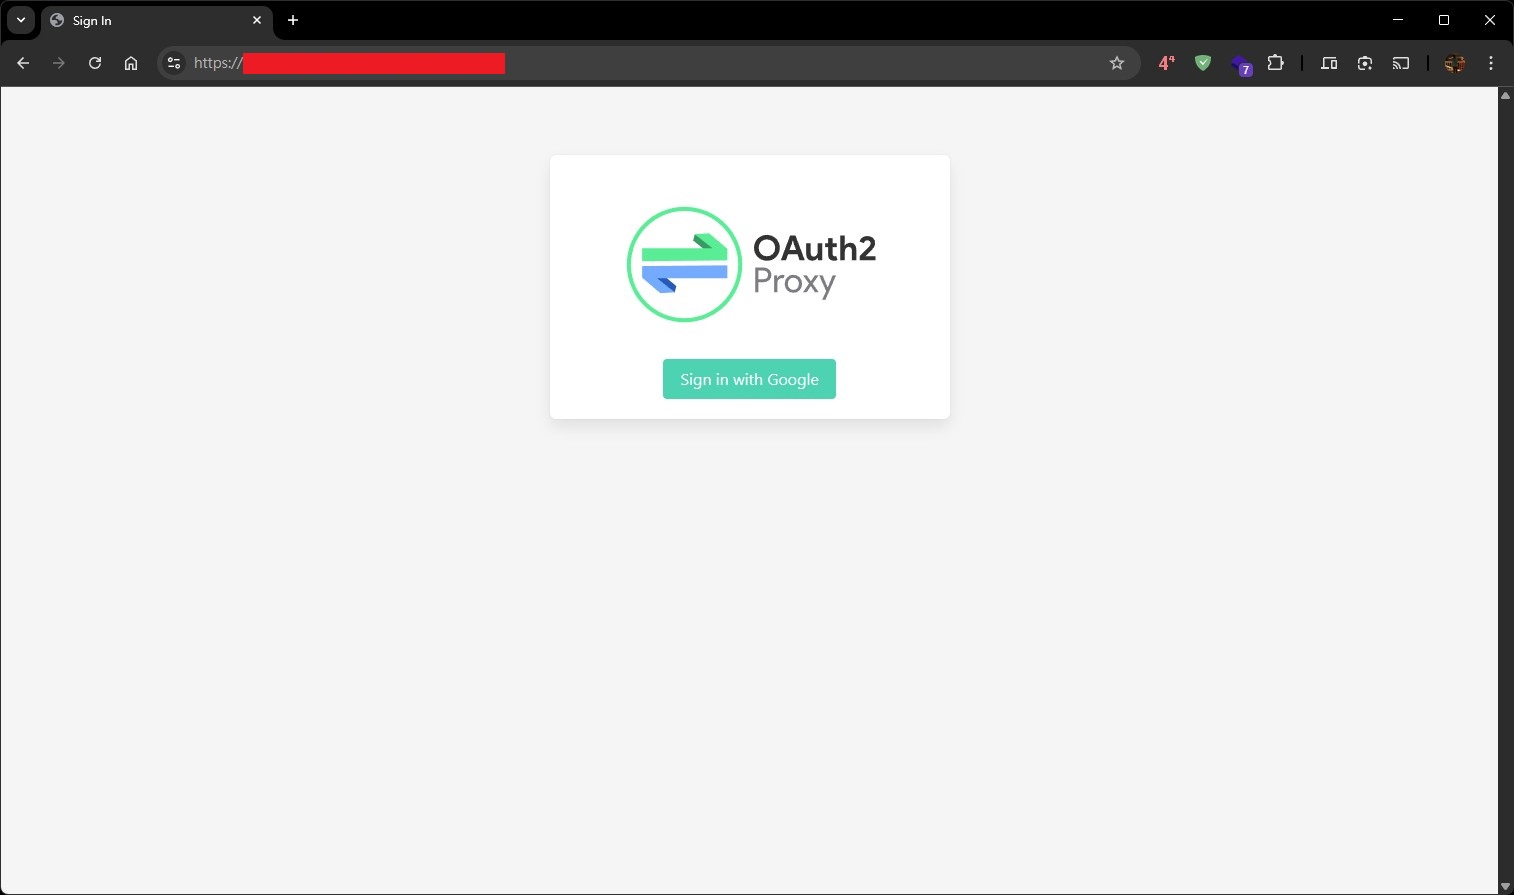
接著前往你的網站,你應該可以看到 OAuth2 Proxy 的畫面,他要你登入。
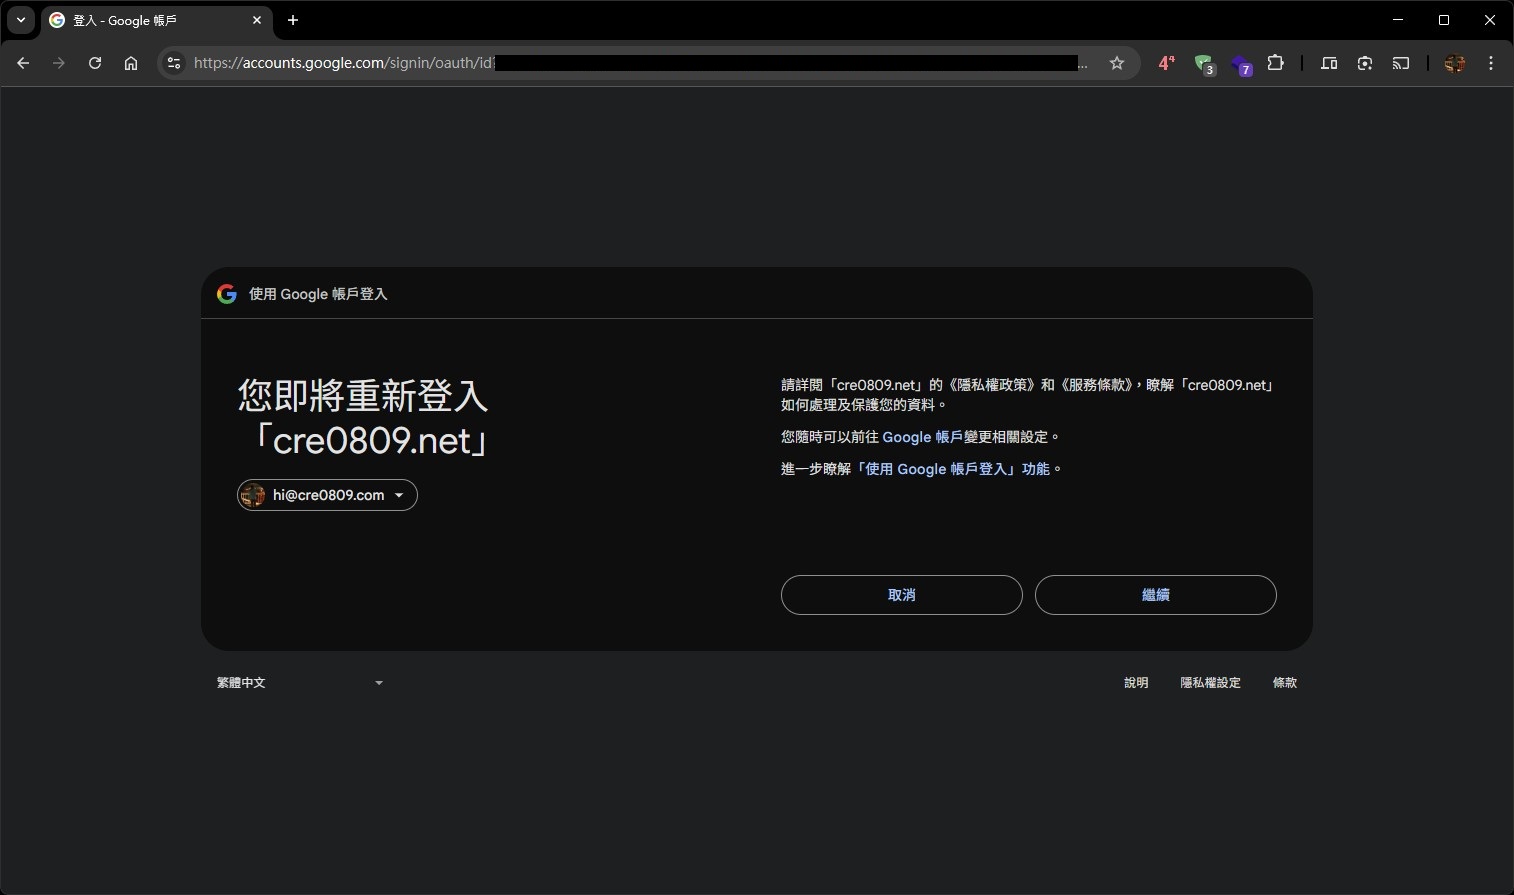
按下登入之後,會帶你到 Google 的網站進行驗證。
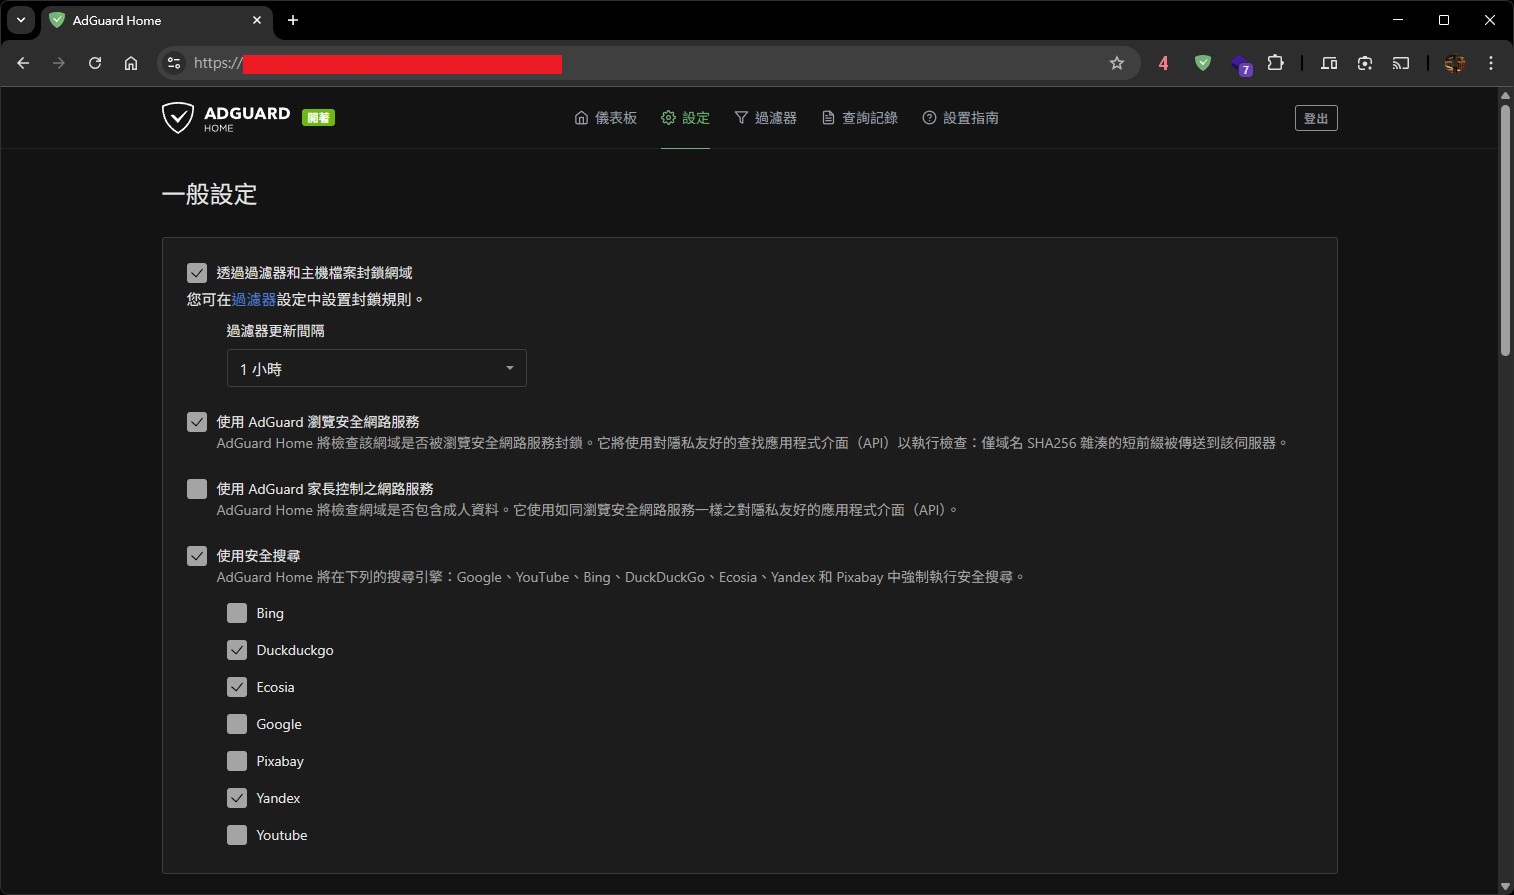
驗證回來之後,你的應用程式就會顯示出來囉,例如我這個測試的後面放了一個 Adguard Home。