前言
在各家雲端硬碟百花齊放的現在,我們可以看到各個業者越來越小氣,給的容量越來越小,而且越來越多規範,這使得這些平台變得難用許多,而這個時候我就考慮想要自己建立一個屬於自己的雲端硬碟了。
某天在網路上突然看到這個可以由自己架設的 Nextcloud,就深深的吸引到我,這篇文章就是來講解如何安裝他。
設定資料庫
在安裝 Nextcloud 之前,我們需要先有資料庫,你可以參考之前的文章 在 Linux 上安裝 MySQL 或 MariaDB 來安裝資料庫。
安裝好之後,我們要進去 mysql 建立資料庫及使用者。
sudo mysql -u root -p
建立資料庫 nextcloud。
CREATE DATABASE nextcloud;
接著建立一個使用者名為 nextcloud 且密碼為 123456,這部分可以自己做改動。
CREATE USER nextcloud@localhost IDENTIFIED BY '123456';
將剛剛建立的資料庫授權給這個使用者。
GRANT ALL PRIVILEGES ON nextcloud.* TO nextcloud@localhost;
保存設定並離開。
flush privileges;
exit;
安裝必要程式
接著我們先來安裝 Nginx 以及 PHP。
sudo apt-get install -y zip unzip nginx nginx-extras php-fpm php-curl php-mysql php-zip php-xml php-zip php-mbstring php-gd
前往 /var/www 底下,並下載 Nextcloud 的檔案們。
cd /var/www && sudo wget https://download.nextcloud.com/server/releases/latest.zip
解壓縮下載下來的資料夾。
sudo unzip latest.zip
授予 使用者 www-data 的 /var/www/nextcloud 目錄權限。
sudo chown -R www-data /var/www/nextcloud
前往 /etc/nginx/sites-enabled/ 並建立檔案 nextcloud。
cd /etc/nginx/sites-enabled/ && sudo vim nextcloud
貼上以下參考檔案,請適當地做出更改,例如:網域名稱。
# Set the `immutable` cache control options only for assets with a cache busting `v` argument
map $arg_v $asset_immutable {
    "" "";
    default "immutable";
}

server {
    listen 80;
    listen [::]:80;
    server_name nextcloud.example.com;
    root /var/www/nextcloud;
    server_tokens off;

    client_max_body_size 2G;
    client_body_timeout 300s;
    fastcgi_buffers 64 4K;

    # Enable gzip but do not remove ETag headers
    gzip on;
    gzip_vary on;
    gzip_comp_level 4;
    gzip_min_length 256;
    gzip_proxied expired no-cache no-store private no_last_modified no_etag auth;
    gzip_types application/atom+xml text/javascript application/javascript application/json application/ld+json application/manifest+json application/rss+xml application/vnd.geo+json application/vnd.ms-fontobject application/wasm application/x-font-ttf application/x-web-app-manifest+json application/xhtml+xml application/xml font/opentype image/bmp image/svg+xml image/x-icon text/cache-manifest text/css text/plain text/vcard text/vnd.rim.location.xloc text/vtt text/x-component text/x-cross-domain-policy;


    client_body_buffer_size 512k;

    add_header Referrer-Policy                   "no-referrer"       always;
    add_header X-Content-Type-Options            "nosniff"           always;
    add_header X-Frame-Options                   "SAMEORIGIN"        always;
    add_header X-Permitted-Cross-Domain-Policies "none"              always;
    add_header X-Robots-Tag                      "noindex, nofollow" always;
    add_header X-XSS-Protection                  "1; mode=block"     always;

    # Remove X-Powered-By, which is an information leak
    fastcgi_hide_header X-Powered-By;

    # Add .mjs as a file extension for javascript
    # Either include it in the default mime.types list
    # or include you can include that list explicitly and add the file extension
    # only for Nextcloud like below:
    include mime.types;
    types {
        text/javascript js mjs;
    }

    # Specify how to handle directories -- specifying `/index.php$request_uri`
    # here as the fallback means that Nginx always exhibits the desired behaviour
    # when a client requests a path that corresponds to a directory that exists
    # on the server. In particular, if that directory contains an index.php file,
    # that file is correctly served; if it doesn't, then the request is passed to
    # the front-end controller. This consistent behaviour means that we don't need
    # to specify custom rules for certain paths (e.g. images and other assets,
    # `/updater`, `/ocs-provider`), and thus
    # `try_files $uri $uri/ /index.php$request_uri`
    # always provides the desired behaviour.
    index index.php index.html /index.php$request_uri;

    # Rule borrowed from `.htaccess` to handle Microsoft DAV clients
    location = / {
        if ( $http_user_agent ~ ^DavClnt ) {
            return 302 /remote.php/webdav/$is_args$args;
        }
    }

    location = /robots.txt {
        allow all;
        log_not_found off;
        access_log off;
    }

    # Make a regex exception for `/.well-known` so that clients can still
    # access it despite the existence of the regex rule
    # `location ~ /(\.|autotest|...)` which would otherwise handle requests
    # for `/.well-known`.
    location ^~ /.well-known {
        # The rules in this block are an adaptation of the rules
        # in `.htaccess` that concern `/.well-known`.

        location = /.well-known/carddav { return 301 /remote.php/dav/; }
        location = /.well-known/caldav  { return 301 /remote.php/dav/; }

        location /.well-known/acme-challenge    { try_files $uri $uri/ =404; }
        location /.well-known/pki-validation    { try_files $uri $uri/ =404; }

        # Let Nextcloud's API for `/.well-known` URIs handle all other
        # requests by passing them to the front-end controller.
        return 301 /index.php$request_uri;
    }

    # Rules borrowed from `.htaccess` to hide certain paths from clients
    location ~ ^/(?:build|tests|config|lib|3rdparty|templates|data)(?:$|/)  { return 404; }
    location ~ ^/(?:\.|autotest|occ|issue|indie|db_|console)                { return 404; }

    # Ensure this block, which passes PHP files to the PHP process, is above the blocks
    # which handle static assets (as seen below). If this block is not declared first,
    # then Nginx will encounter an infinite rewriting loop when it prepends `/index.php`
    # to the URI, resulting in a HTTP 500 error response.
    location ~ \.php(?:$|/) {
        # Required for legacy support
        rewrite ^/(?!index|remote|public|cron|core\/ajax\/update|status|ocs\/v[12]|updater\/.+|ocs-provider\/.+|.+\/richdocumentscode\/proxy) /index.php$request_uri;

        fastcgi_split_path_info ^(.+?\.php)(/.*)$;
        set $path_info $fastcgi_path_info;

        try_files $fastcgi_script_name =404;

        include fastcgi_params;
        fastcgi_param SCRIPT_FILENAME $document_root$fastcgi_script_name;
        fastcgi_param PATH_INFO $path_info;
        fastcgi_param HTTPS on;

        fastcgi_param modHeadersAvailable true;         # Avoid sending the security headers twice
        fastcgi_param front_controller_active true;     # Enable pretty urls
        fastcgi_pass unix:/run/php/php8.2-fpm.sock;

        fastcgi_intercept_errors on;
        fastcgi_request_buffering off;

        fastcgi_max_temp_file_size 0;
    }

    # Serve static files
    location ~ \.(?:css|js|mjs|svg|gif|png|jpg|ico|wasm|tflite|map|ogg|flac)$ {
        try_files $uri /index.php$request_uri;
        add_header Cache-Control "public, max-age=15778463, $asset_immutable";
        access_log off;     # Optional: Don't log access to assets

        location ~ \.wasm$ {
            default_type application/wasm;
        }
    }

    location ~ \.woff2?$ {
        try_files $uri /index.php$request_uri;
        expires 7d;         # Cache-Control policy borrowed from `.htaccess`
        access_log off;     # Optional: Don't log access to assets
    }

    # Rule borrowed from `.htaccess`
    location /remote {
        return 301 /remote.php$request_uri;
    }

    location / {
        try_files $uri $uri/ /index.php$request_uri;
    }
}
確定並重啟 Nginx。
sudo nginx -t && sudo systemctl restart nginx
設定 Nextcloud
接著就可以打開瀏覽器並前往主機了,設定使用者帳號密碼以及你愈存放的目錄;資料庫的帳號密碼則是我們上方所建立設定的。
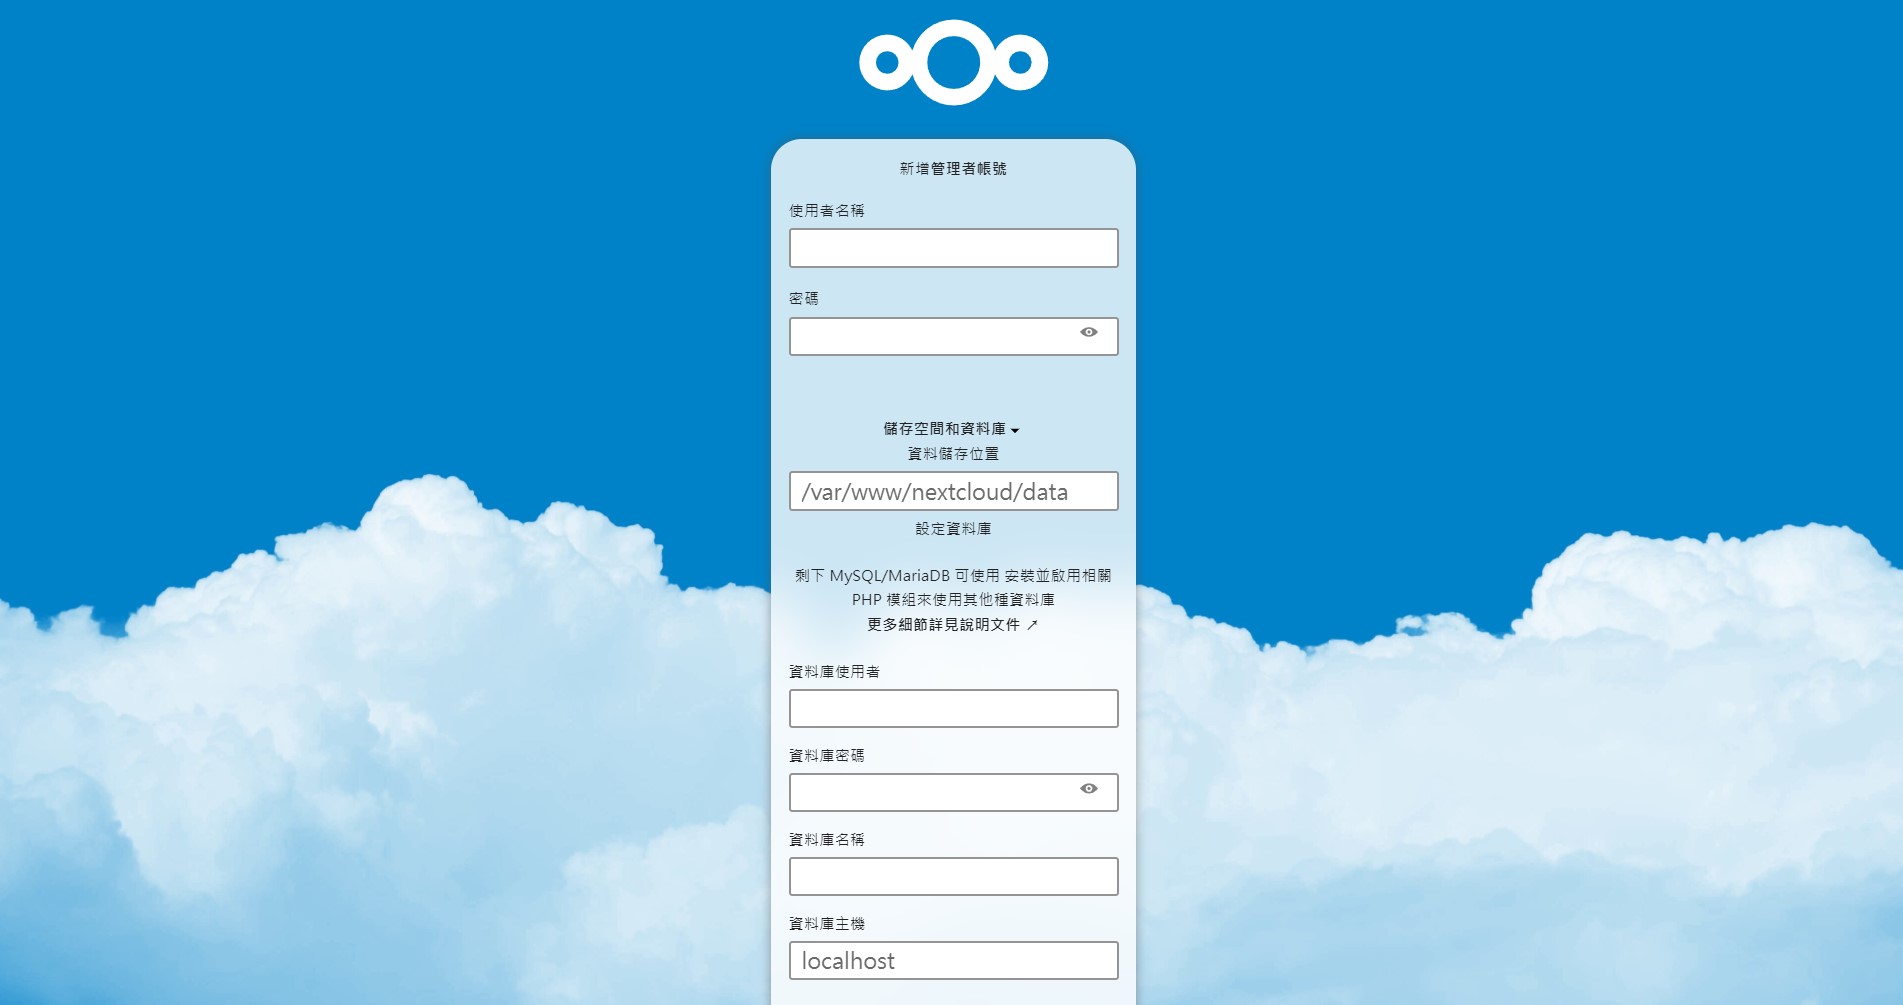
請注意,你所設定的目錄也必須要讓使用者 www-data 獲得適當的權限。例如我的目錄是 /drive,就可以這樣下:
sudo chown -R www-data /drive
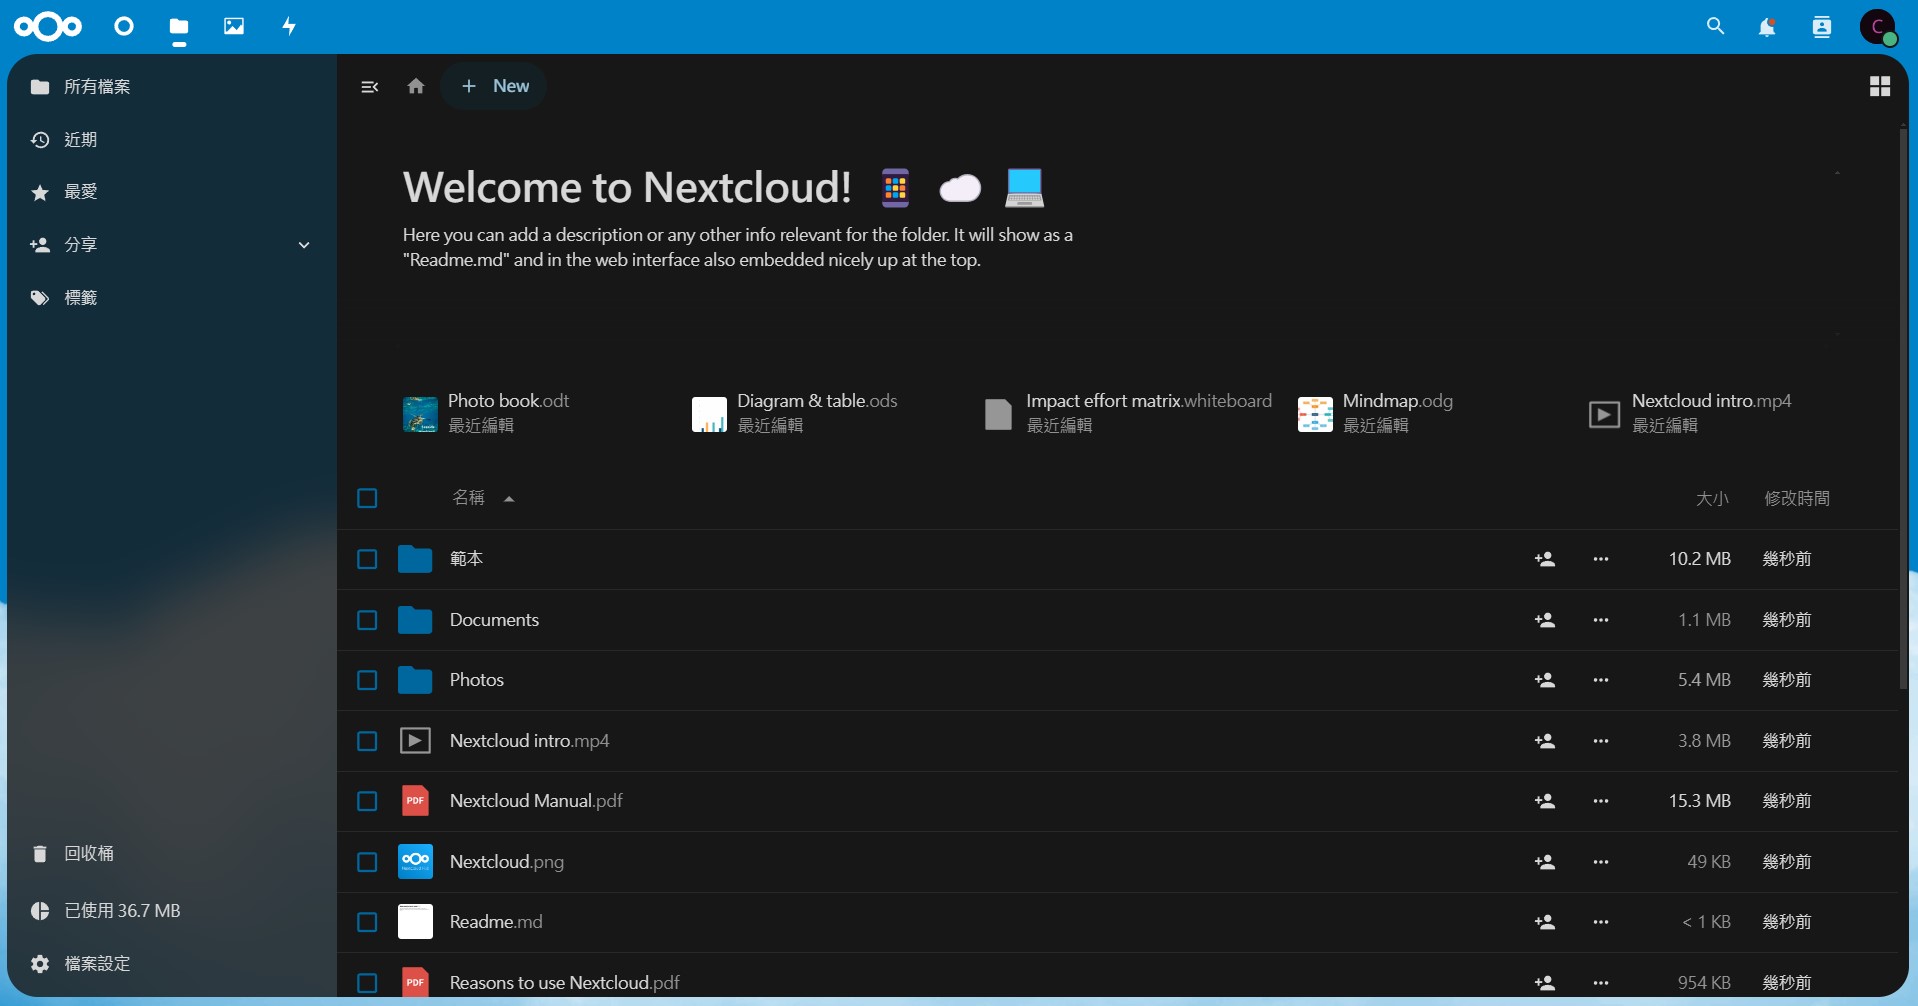
設定完後,就可以開始使用你自己的雲端硬碟啦!
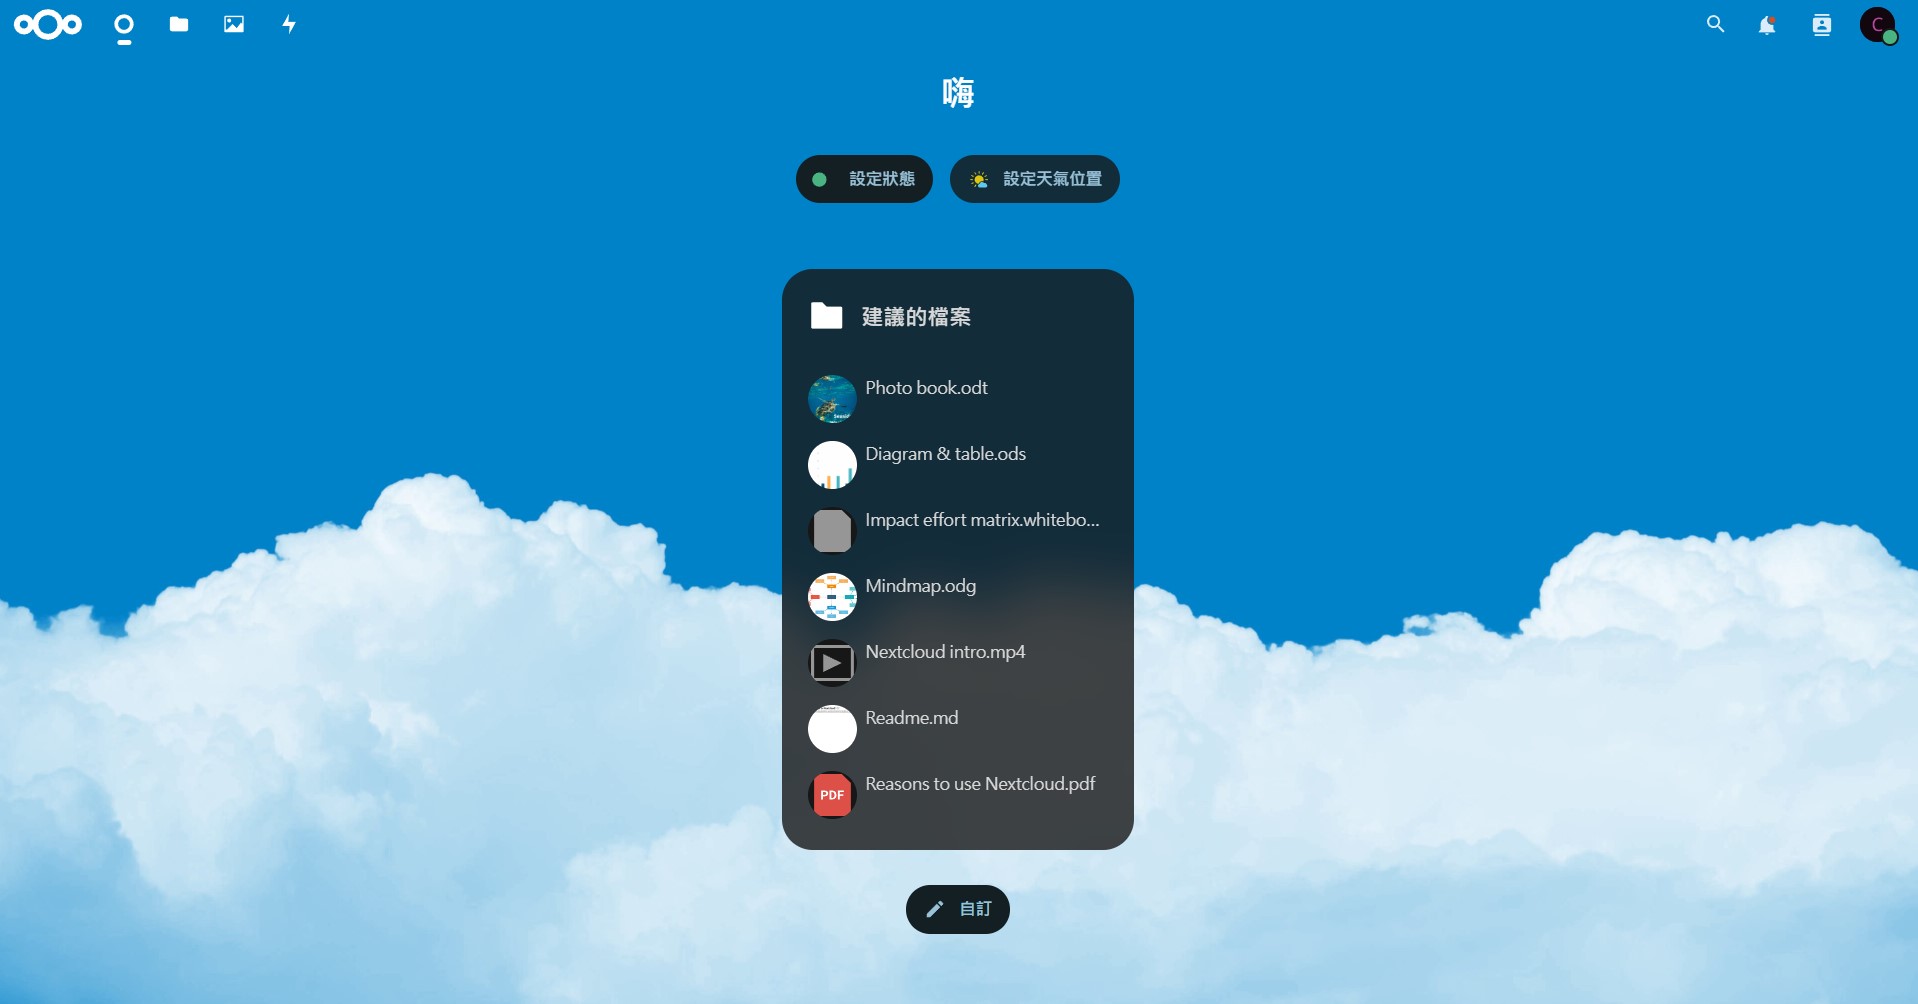
點選左上方的資料夾圖示,即可像是一般的雲端硬碟一樣來檢視檔案。
常見問題
以下列出幾個常見的問題,當你遇到的時候可以參考看看哦。
結語
你成功建立的自架的雲端硬碟!你可以在裡面自由存放任何檔案,而不用受限於第三方雲端硬碟平台的任何限制囉。我自己認為 Nextcloud 真的蠻酷蠻好用的,推薦給大家。