前言廢話
WHMCS 是一個供應網路服務的自動化帳單系統,其方便性深受相關人士喜愛,這篇文章主要就是教學如何在你的 Linux 上安裝 WHMCS。
更新及安裝環境
本文的系統是 Ubuntu 20.04。當你的機器準備好,請先更新一下
sudo apt-get -y update && sudo apt-get -y upgrade
安裝必要軟體(Nginx、php-fpm、php-mysql、Mariadb等..)
sudo apt-get install -y nginx php-fpm php-curl php-mysql php-cli php-gd php-xml mariadb-server zip unzip
安裝 ionCube Loader
ionCube 是一款用於 PHP 的加密軟體,在我之前的文章有說明過,請點擊連結去參考吧!
安裝資料庫
資料庫是網站很重要的一環,本文將使用 MariaDB。那一樣,我之前的文章有教學,請點擊連結去參考吧!
連結:在 Linux 上安裝 MySQL 或 MariaDB
下載 WHMCS
若你已經購買授權,你可以到 這裡 下載。
我在網路上也找到了一個 8.5.1 的連結,可以直接使用 wget 下載較快速。
我將其放置於 /var/www/whmcs,並且解壓縮他
sudo mkdir -p /var/www/whmcs
cd /var/www/whmcs
sudo wget https://s3.amazonaws.com/releases.whmcs.com/v2/pkgs/whmcs-8.5.1-release.1.zip
sudo unzip whmcs-8.5.1-release.1.zip
sudo rm whmcs-8.5.1-release.1.zip
重新命名 configuration.php.new 為 configuration.php
sudo mv configuration.php.new configuration.php
在安裝的起始,我們需要暫時的將 configuration.php 檔案權限改成 0777,安裝完後,再改為 0400
sudo chmod 0777 configuration.php
配置 Nginx
在 /etc/nginx/sites-enabled/ 底下新增你的配置,而對於 WHMCS 8.5.1 的版本,我這邊提供 SSL 及 非SSL 的配置。
SSL 版本的配置
server {
    listen 80;
    server_name your.domain.com;
    return 301 https://your.domain.com$request_uri;
}

# HTTPS server

server {
    listen 443;
    server_name your.domain.com;
    root /var/www/whmcs;

    add_header X-Frame-Options "SAMEORIGIN";
    add_header X-XSS-Protection "1; mode=block";
    add_header X-Content-Type-Options "nosniff";
    add_header Strict-Transport-Security "max-age=31536000; includeSubDomains; preload" always;

    index index.php index.html index.htm;

    charset utf-8;

    ssl on;
    ssl_certificate /var/www/html/storage/ssl/cert.pem;
    ssl_certificate_key /var/www/html/storage/ssl/cert.key;

    ssl_session_timeout 5m;

    ssl_protocols SSLv3 TLSv1 TLSv1.1 TLSv1.2;
    ssl_ciphers "HIGH:!aNULL:!MD5 or HIGH:!aNULL:!MD5:!3DES";
    ssl_prefer_server_ciphers on;


    location ~ /clients/admin/(client!\.php|search|apps|billing|setup|user|services|addons|domains|utilities|help!\.php|help/license|image/(recent|upload))/?(.*)$ {
        rewrite ^/(.*)$ /clients/admin/index.php?rp=/admin/$1/$2;
    }

    location ~ /clients/(login|password|account|store|download|knowledgebase|announcements|clientarea/ssl-certificates|user/(profile|password|security)|cart/(domain/renew)|images/kb)/?(.*)$ {
                rewrite ^/(.*)$ /clients/index.php?rp=/$1/$2;
    }


    location / {
        try_files $uri $uri/ /index.php?$query_string;
    }

    location = /favicon.ico { access_log off; log_not_found off; }
    location = /robots.txt  { access_log off; log_not_found off; }

    error_page 404 /index.php;


    proxy_send_timeout 300s;
    proxy_read_timeout 300s;


    location ~ \.php$ {
        fastcgi_pass unix:/var/run/php/php7.4-fpm.sock;
        fastcgi_send_timeout 300;
        fastcgi_read_timeout 300;
        fastcgi_index index.php;
        fastcgi_param SCRIPT_FILENAME $realpath_root$fastcgi_script_name;
        include fastcgi_params;
    }

    location ~ /\.(?!well-known).* {
        deny all;
    }

    location ^~ /clients/vendor/ {
        deny all;
        return 403;
    }

    location ~* \.(?:jpg|jpeg|gif|png|ico|cur|gz|svg|svgz|mp4|ogg|ogv|webm|htc|svg|woff|woff2|ttf)\$ {
        expires 1M;
        access_log off;
        add_header Cache-Control "public";
    }

    location ~* \.(?:css|js)\$ {
        expires 7d;
        access_log off;
        add_header Cache-Control "public";
    }

    location ~ /\.ht {
        deny  all;
    }
}
非 SSL 版本的配置
server {
    listen 80;
    server_name your.domain.com;
    root  /var/www/whmcs;
    index index.php index.html;

    location / {
        try_files $uri $uri/ /index.php?$query_string;
        location ~* ^.+\.(jpeg|jpg|png|gif|bmp|ico|svg|css|js)$ {
            expires     max;
        }

        location ~ [^/]\.php(/|$) {
            fastcgi_param SCRIPT_FILENAME $document_root$fastcgi_script_name;
            if (!-f $document_root$fastcgi_script_name) {
                return  404;
            }

            fastcgi_pass    unix:/var/run/php/php7.4-fpm.sock;
            fastcgi_index   index.php;
            include         /etc/nginx/fastcgi_params;
        }
    }

    location ~ /announcements/?(.*)$ {
        rewrite ^/(.*)$ /index.php?rp=/announcements/$1;
    }

    location ~ /downloads/?(.*)$ {
        rewrite ^/(.*)$ /index.php?rp=/downloads/$1;
    }

    location ~ /knowledgebase/?(.*)$ {
        rewrite ^/(.*)$ /index.php?rp=/knowledgebase/$1;
    }

    error_page  403 /error/404.html;
    error_page  404 /error/404.html;
    error_page  500 502 503 504 /error/50x.html;

    location ~* "/\.(htaccess|htpasswd)$" {
        deny    all;
        return  404;
    }
}
請記得更改裡面的部分設定成你的樣子。更新完後,重啟 Nginx。
sudo systemctl restart nginx
訪問網站
打開瀏覽器,並進入你的網站,你可以看到以下畫面。
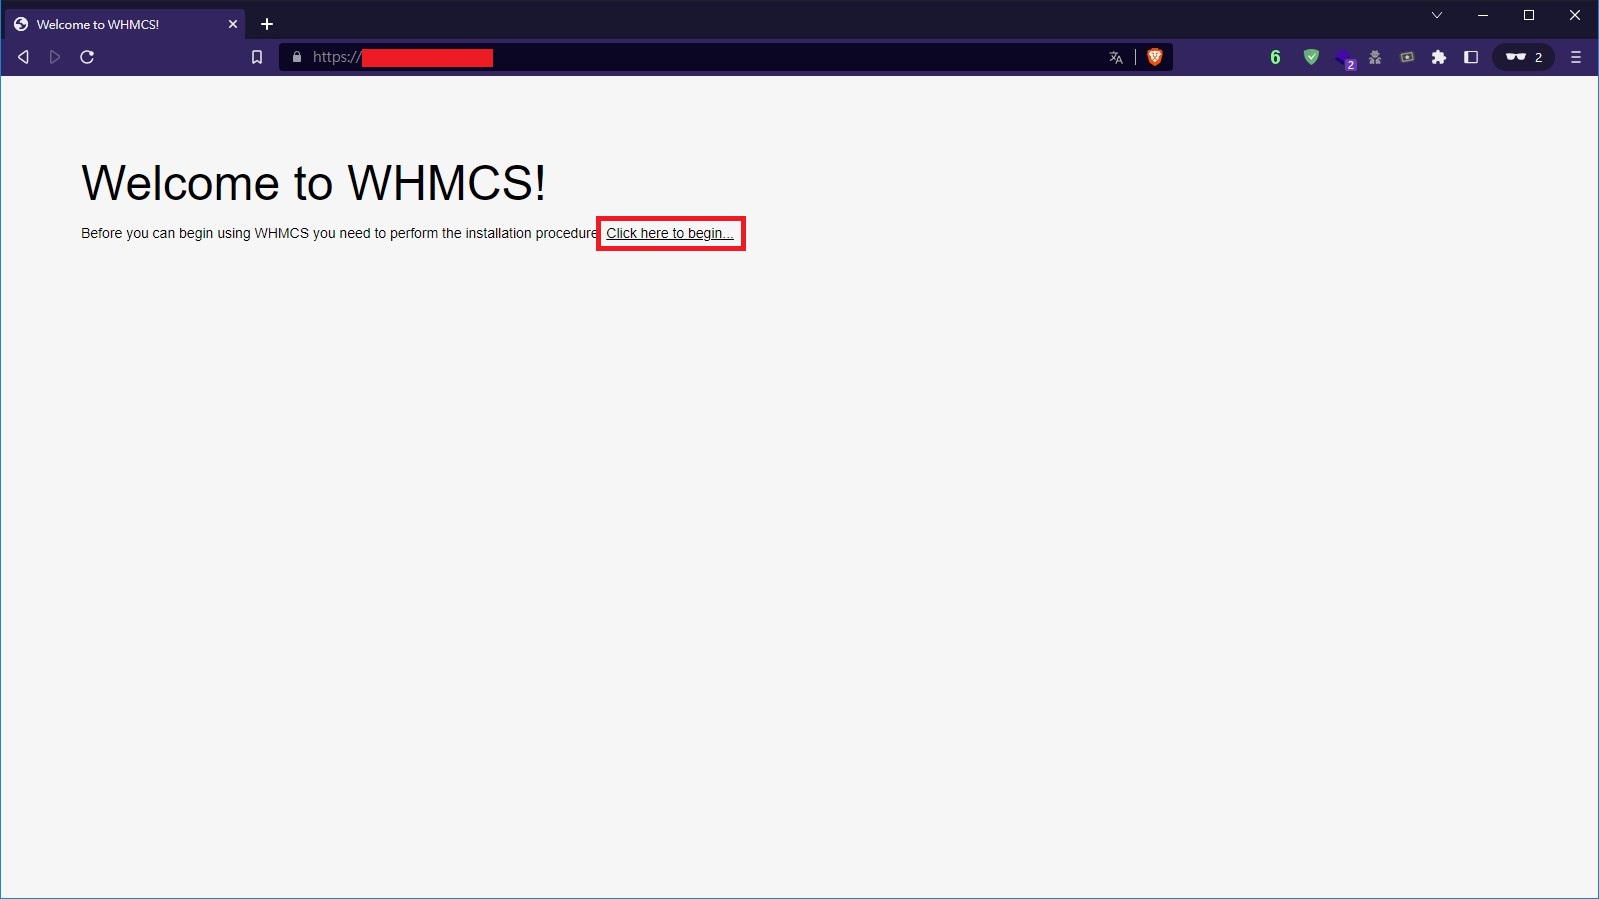
點擊 I AGREE 同意合約

點擊 Begin Installation 繼續安裝
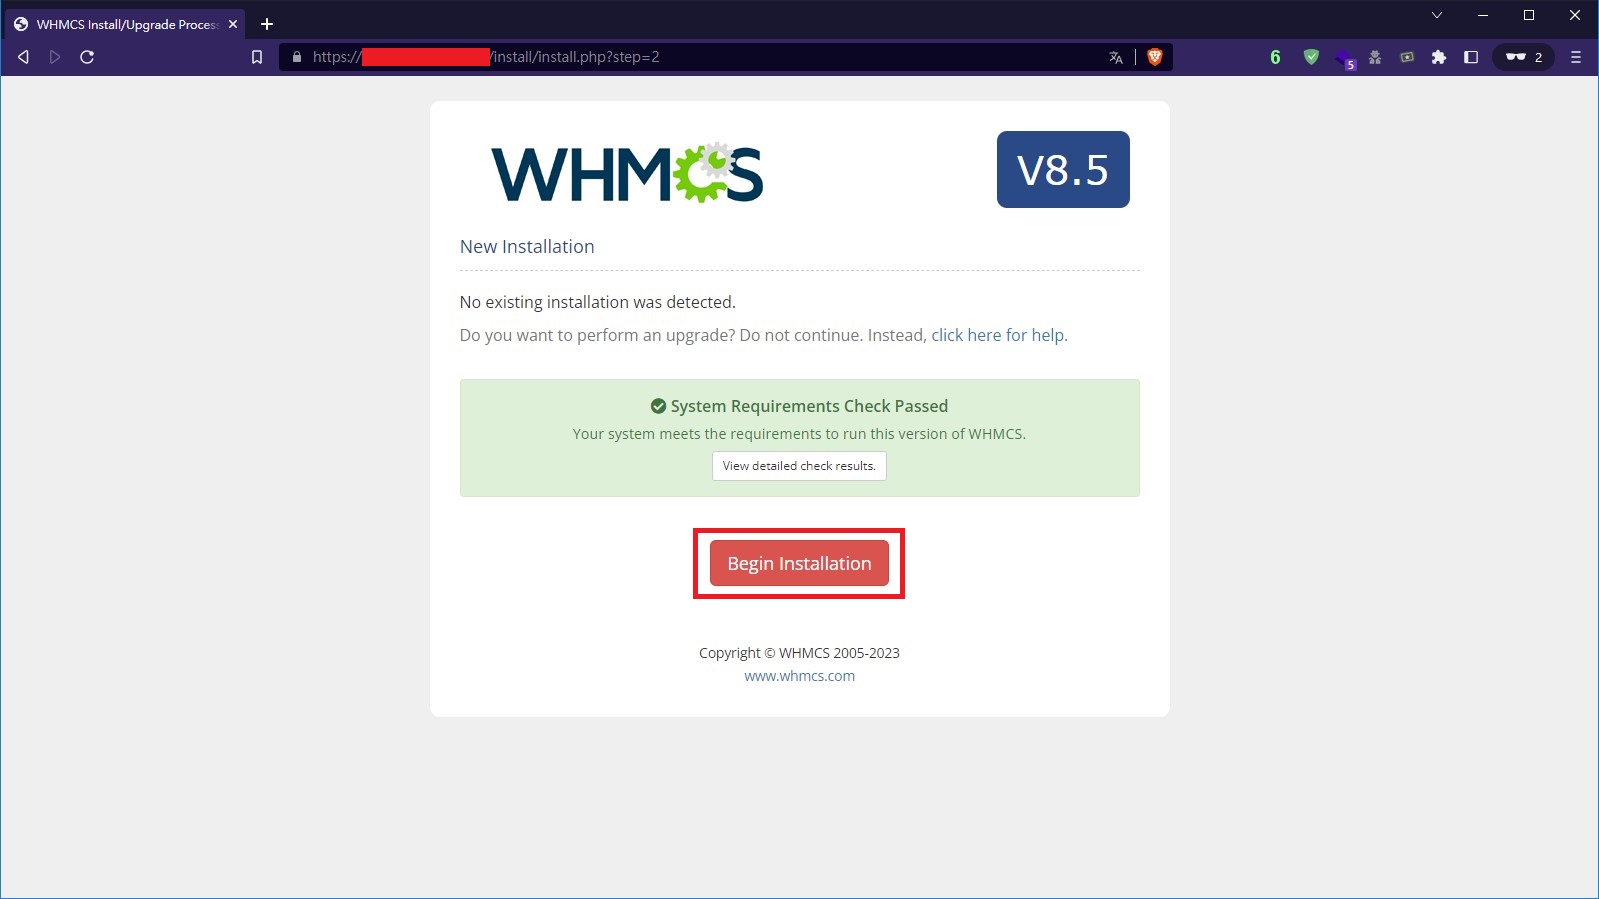
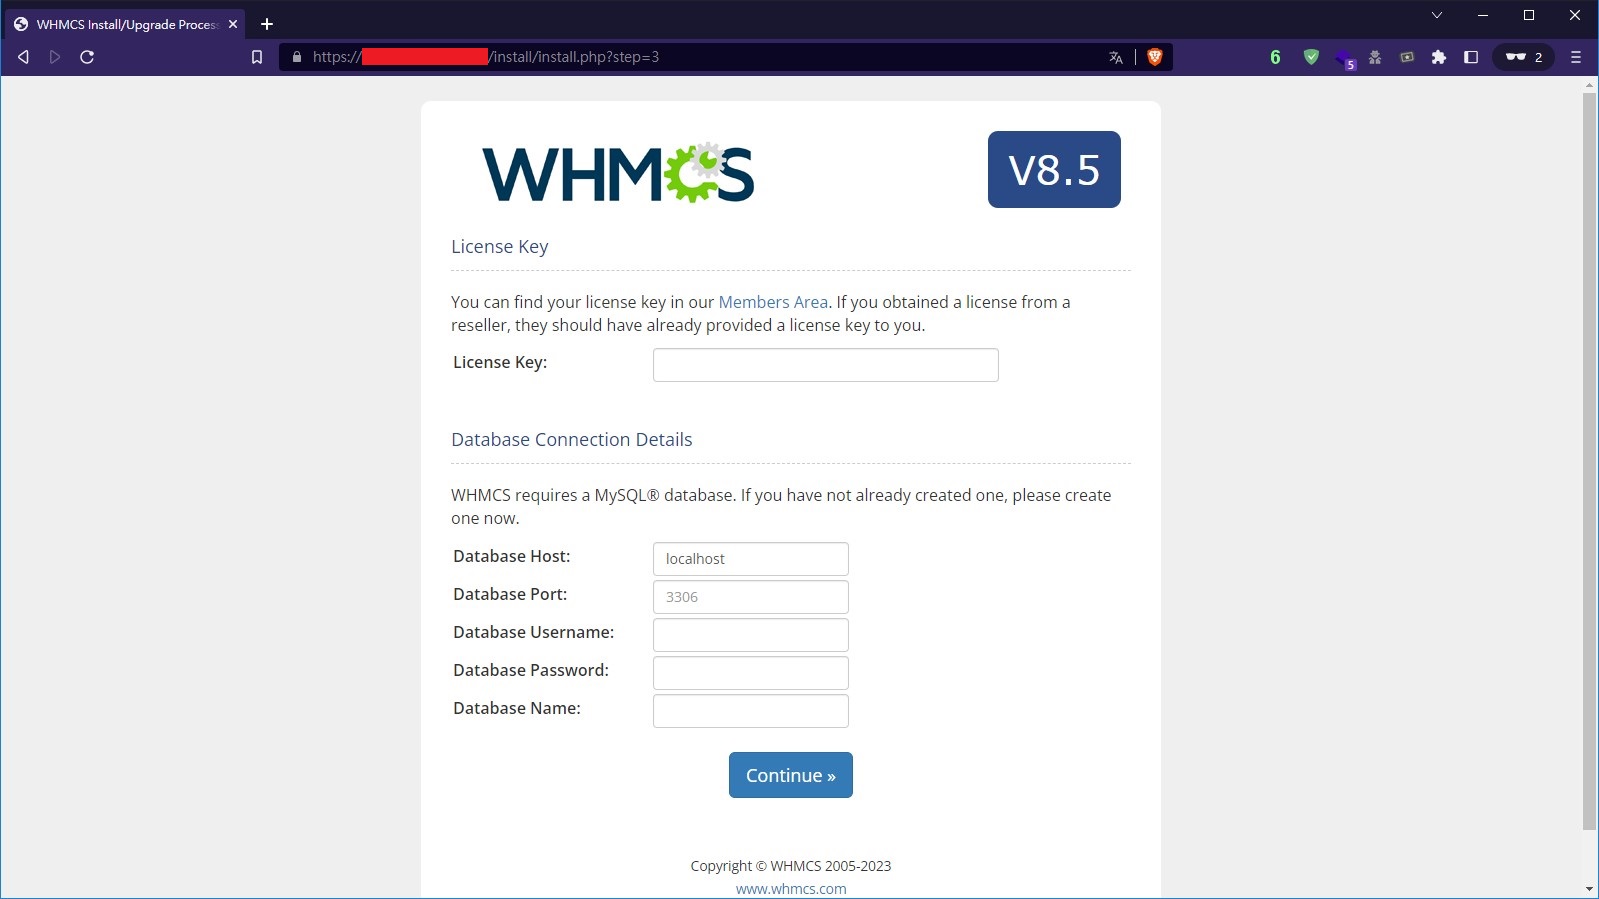
輸入你的授權金鑰以及資料庫資訊
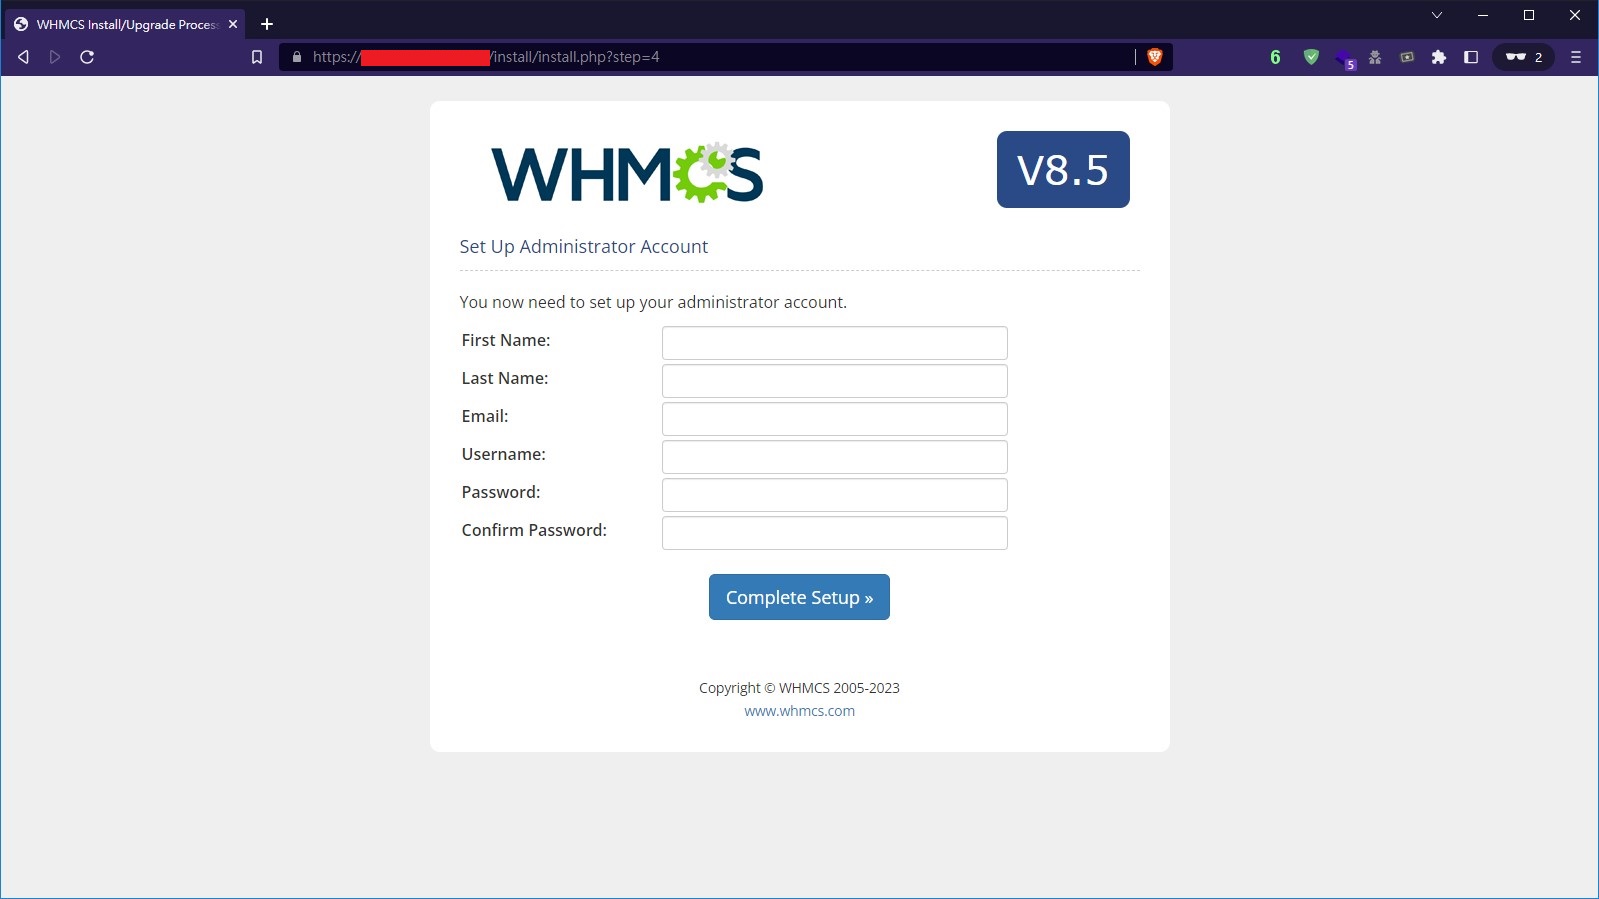
設定管理員帳號、密碼、電子郵件等資訊
接著就完成囉!
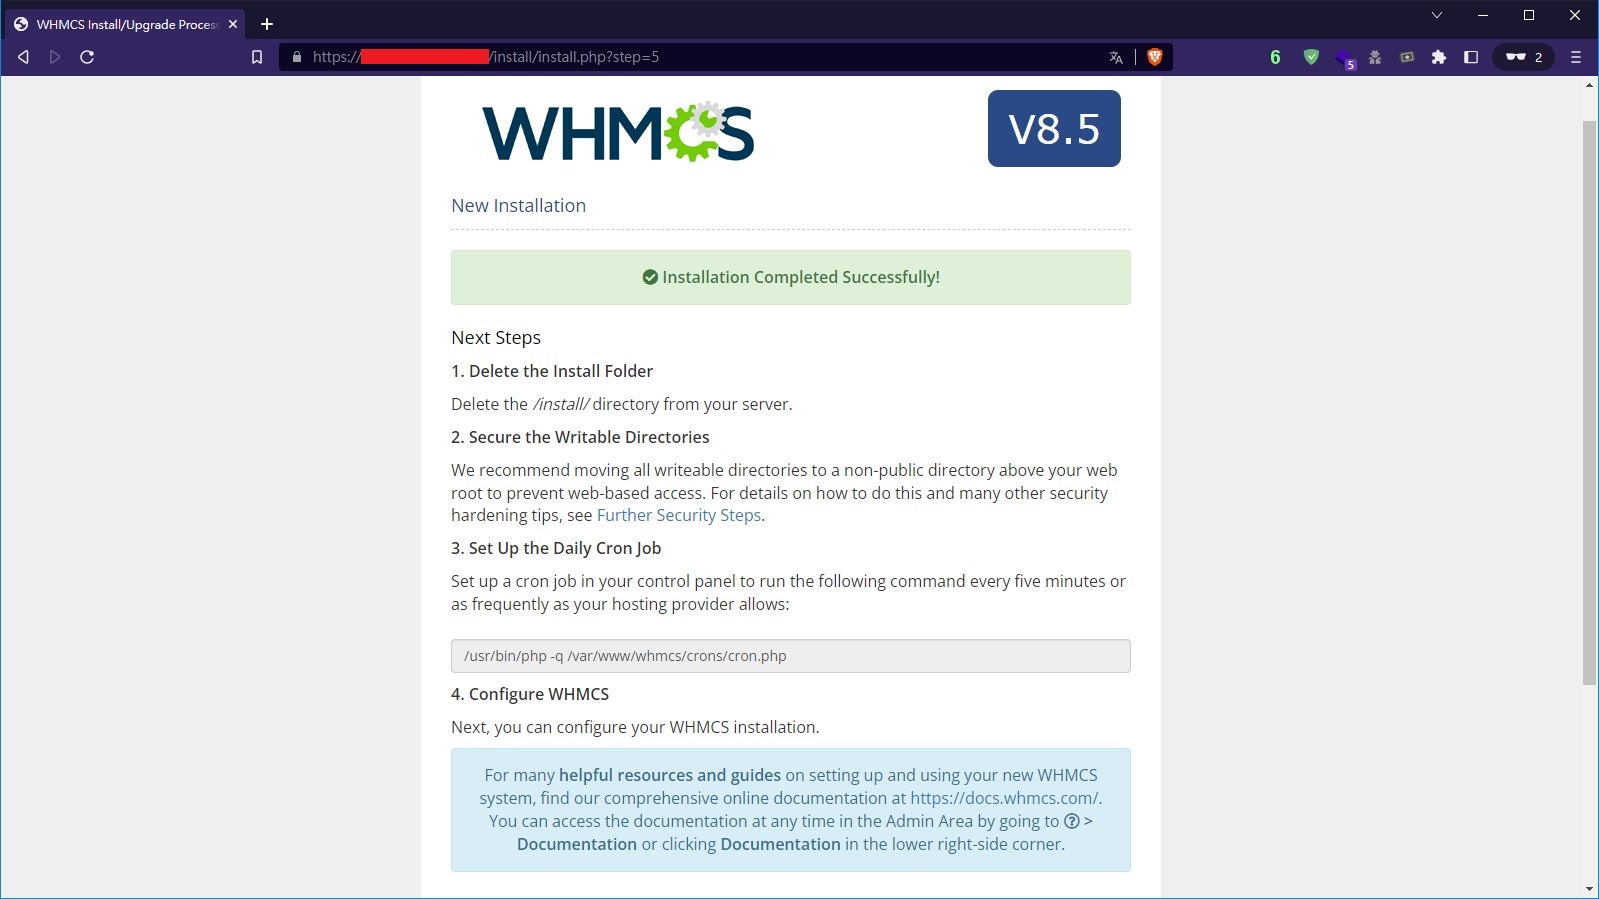
另外,我們需要刪除 /install/ 這個目錄。
cd /var/www/whmcs
sudo rm -r install/
我們再將 configuration.php 的權限改回 0400
sudo chmod 0400 configuration.php
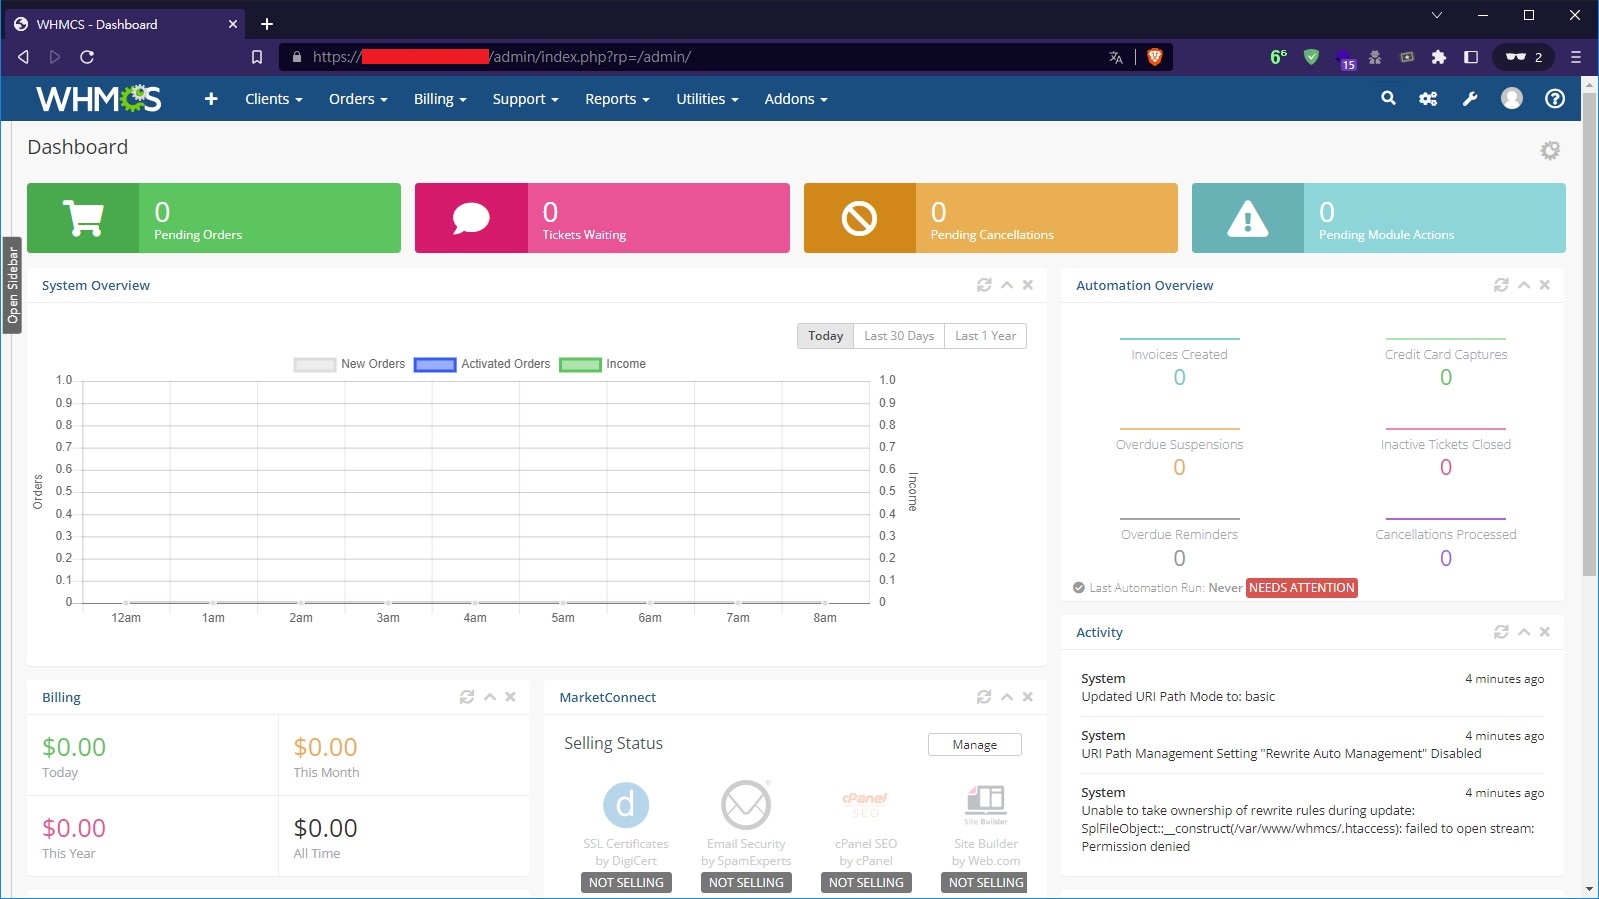
完成後,就可以點擊下方按鈕進入管理介面。
完成
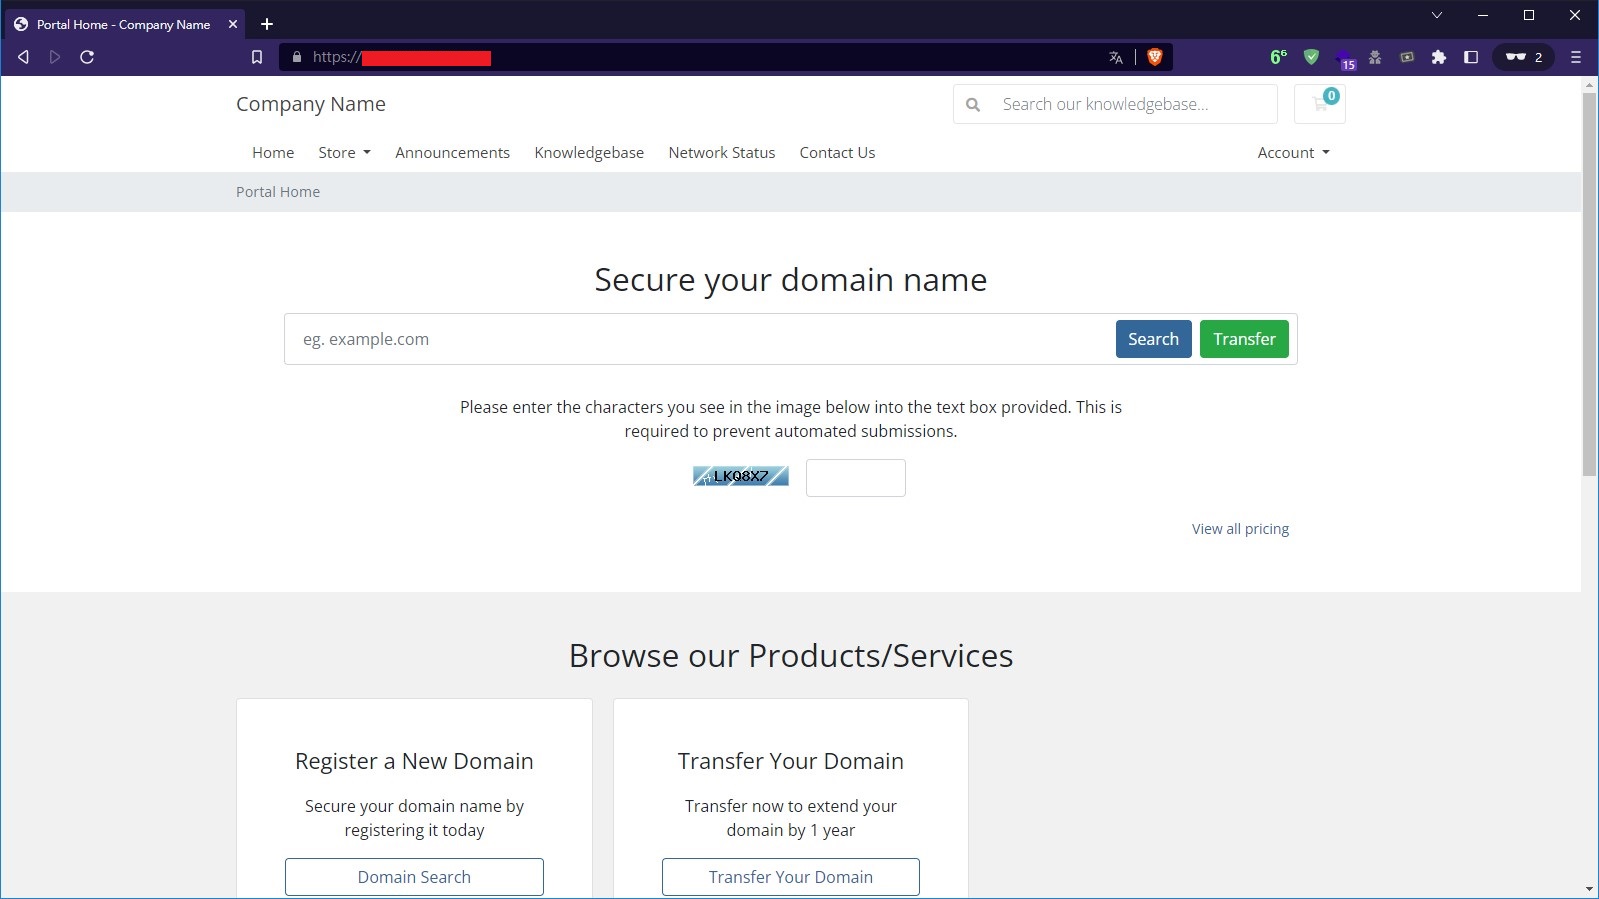
你已經完成了安裝 WHMCS!現在可以訪問管理系統及客戶系統啦!