更新系統
sudo apt-get update && sudo apt-get upgrade && sudo apt-get dist-upgrade
下載必要元素
sudo apt install php libapache2-mod-php php-common php-mbstring php-xmlrpc php-gd php-xml php-mysql php-cli php-zip php-curl
確定PHP狀態,建立phpinfo.php並以下加入內容
vim /var/www/html/phpinfo.php
<?php
    phpinfo();
?>
在瀏覽器輸入 http://<your_ip>/phpinfo.php 來確定 PHP 狀態
安裝 MariaDB
sudo apt-get install mariadb-server mariadb-client
設定 DataBase,以下內容可以依照個人需求設定
mysql_secure_installation
第一次設定輸入Y即可
NOTE: RUNNING ALL PARTS OF THIS SCRIPT IS RECOMMENDED FOR ALL MariaDB
      SERVERS IN PRODUCTION USE!  PLEASE READ EACH STEP CAREFULLY!

In order to log into MariaDB to secure it, we'll need the current
password for the root user.  If you've just installed MariaDB, and
you haven't set the root password yet, the password will be blank,
so you should just press enter here.

Enter current password for root (enter for none):
現在設定Root的密碼嗎?輸入Y並依照指示設定密碼
OK, successfully used password, moving on...

Setting the root password ensures that nobody can log into the MariaDB
root user without the proper authorisation.

Set root password? [Y/n]
移除 Anonymous Users ?輸入 Y
By default, a MariaDB installation has an anonymous user, allowing anyone
to log into MariaDB without having to have a user account created for
them.  This is intended only for testing, and to make the installation
go a bit smoother.  You should remove them before moving into a
production environment.

Remove anonymous users? [Y/n]
關閉遠端登入root?我是輸入 Y
Normally, root should only be allowed to connect from 'localhost'.  This
ensures that someone cannot guess at the root password from the network.

Disallow root login remotely? [Y/n]
移除Test資料表嗎?輸入 Y
By default, MariaDB comes with a database named 'test' that anyone can
access.  This is also intended only for testing, and should be removed
before moving into a production environment.

Remove test database and access to it? [Y/n]
是否立刻重新載入資料表,輸入 Y
Reloading the privilege tables will ensure that all changes made so far
will take effect immediately.

Reload privilege tables now? [Y/n]
使用 root 進入我們的 Database
mysql -u root -p
建立一個WP專用的資料庫,名為 wordpress
CREATE DATABASE wordpress;
建立一個名為wpuser的使用者,其密碼為123456
使用者名稱跟密碼可以改成你自己喜歡的
CREATE USER wpuser@localhost IDENTIFIED BY '123456';
給wpuser這個使用者wordpress資料庫的權限
GRANT ALL PRIVILEGES ON wordpress.* TO wpuser@localhost;
最後更新所設定內容並輸入exit離開
flush privileges;
exit;
若要確定wpuser這個使用者有沒有確實建立,可以嘗試登入一次,若沒問題即可exit離開
mysql -u wpuser -p
exit
cd到家目錄底下
cd ~
從tw.wordpress.org下載檔案
wget https://tw.wordpress.org/latest-zh_TW.tar.gz
解壓縮 latest-zh_TW.tar.gz
tar xzvf latest-zh_TW.tar.gz
進入 ~/wordpress 目錄
cd ~/wordpress
複製wp-config-sample.php這個檔案並將其命名成 wp-config.php
cp wp-config-sample.php wp-config.php
編輯wp-config.php
vim wp-config.php
更改 Database 的資料,改成剛剛在上面所設定的
// ** MySQL settings - You can get this info from your web host ** //
/** The name of the database for WordPress */
define( 'DB_NAME', 'wordpress' );

/** MySQL database username */
define( 'DB_USER', 'wpuser' );

/** MySQL database password */
define( 'DB_PASSWORD', '123456' );
在開始複製之前,先到 /var/www/html 底下看目前有沒有東西,像我裡面有 index.html 跟 phpinfo.php 兩個檔案,將其刪除
cd /var/www/html
rm index.html && rm phpinfo.php
複製 ~/wordpress/ 到 /var/www/html/ 底下
rsync -avP ~/wordpress/ /var/www/html/
接著進入http:///wp-config.php開始設定WordPress
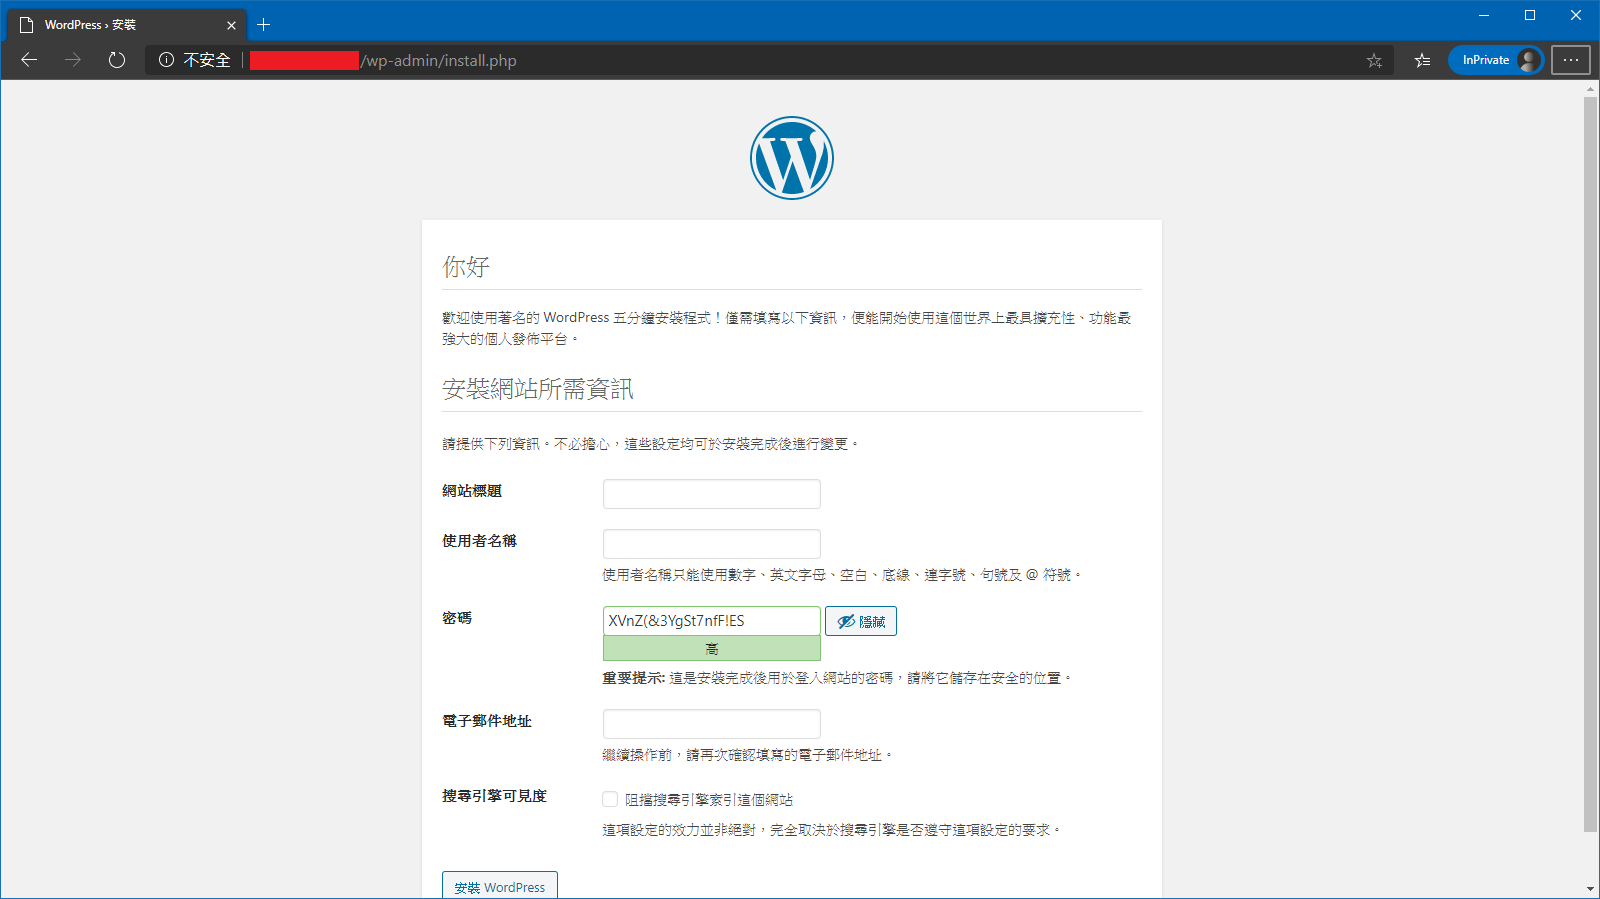
密碼記得留存,等等登入會用到,好了就按「安裝 WordPress」
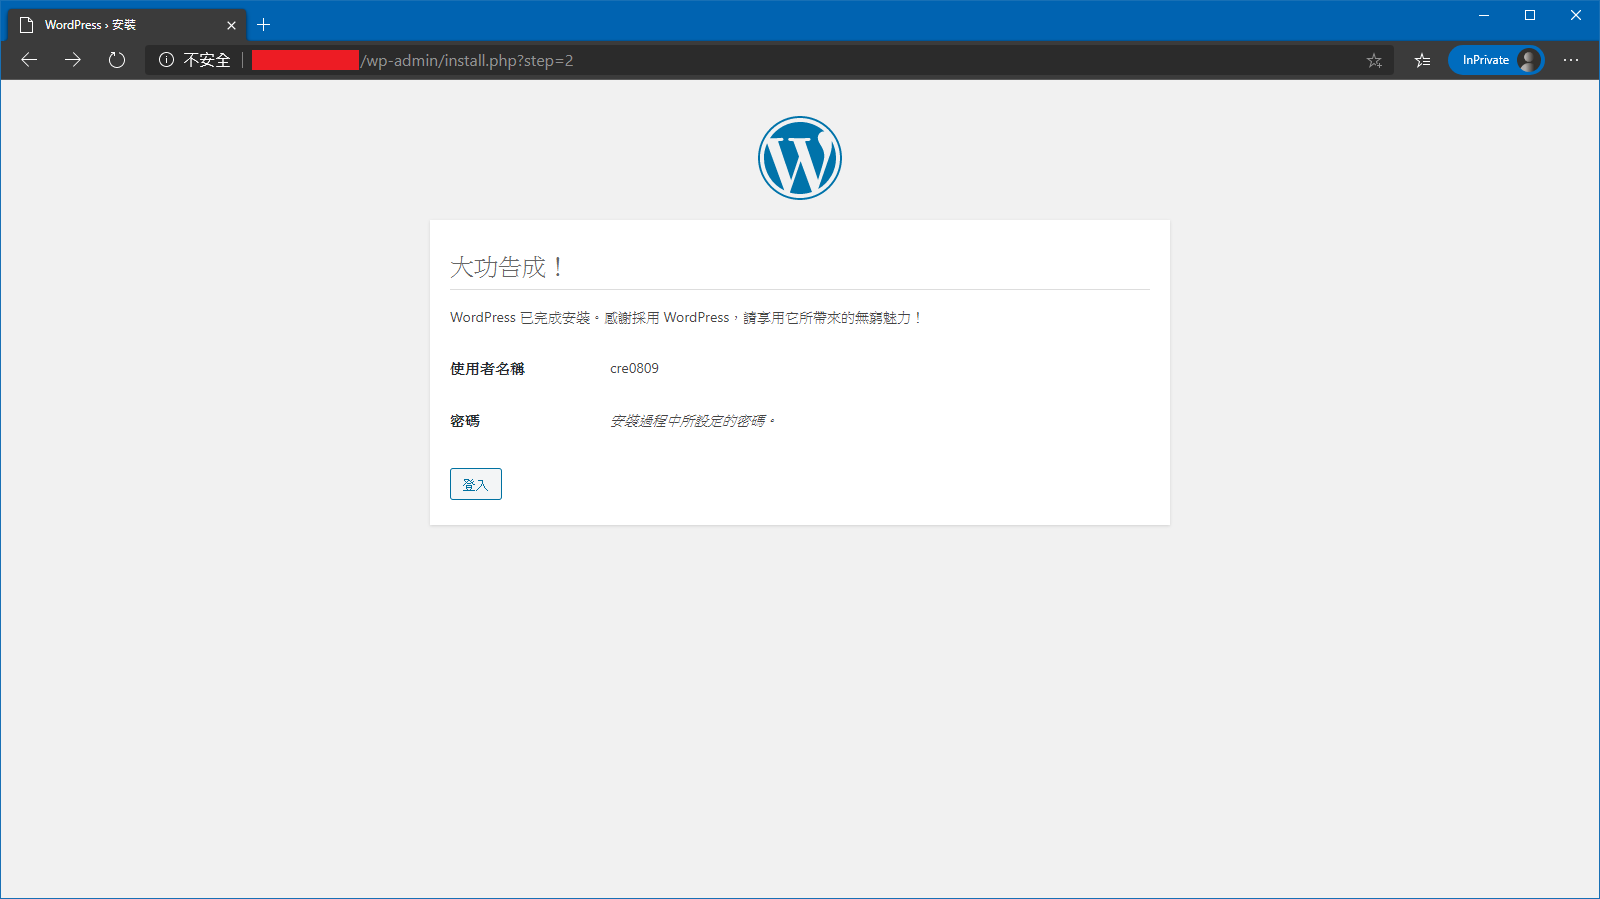
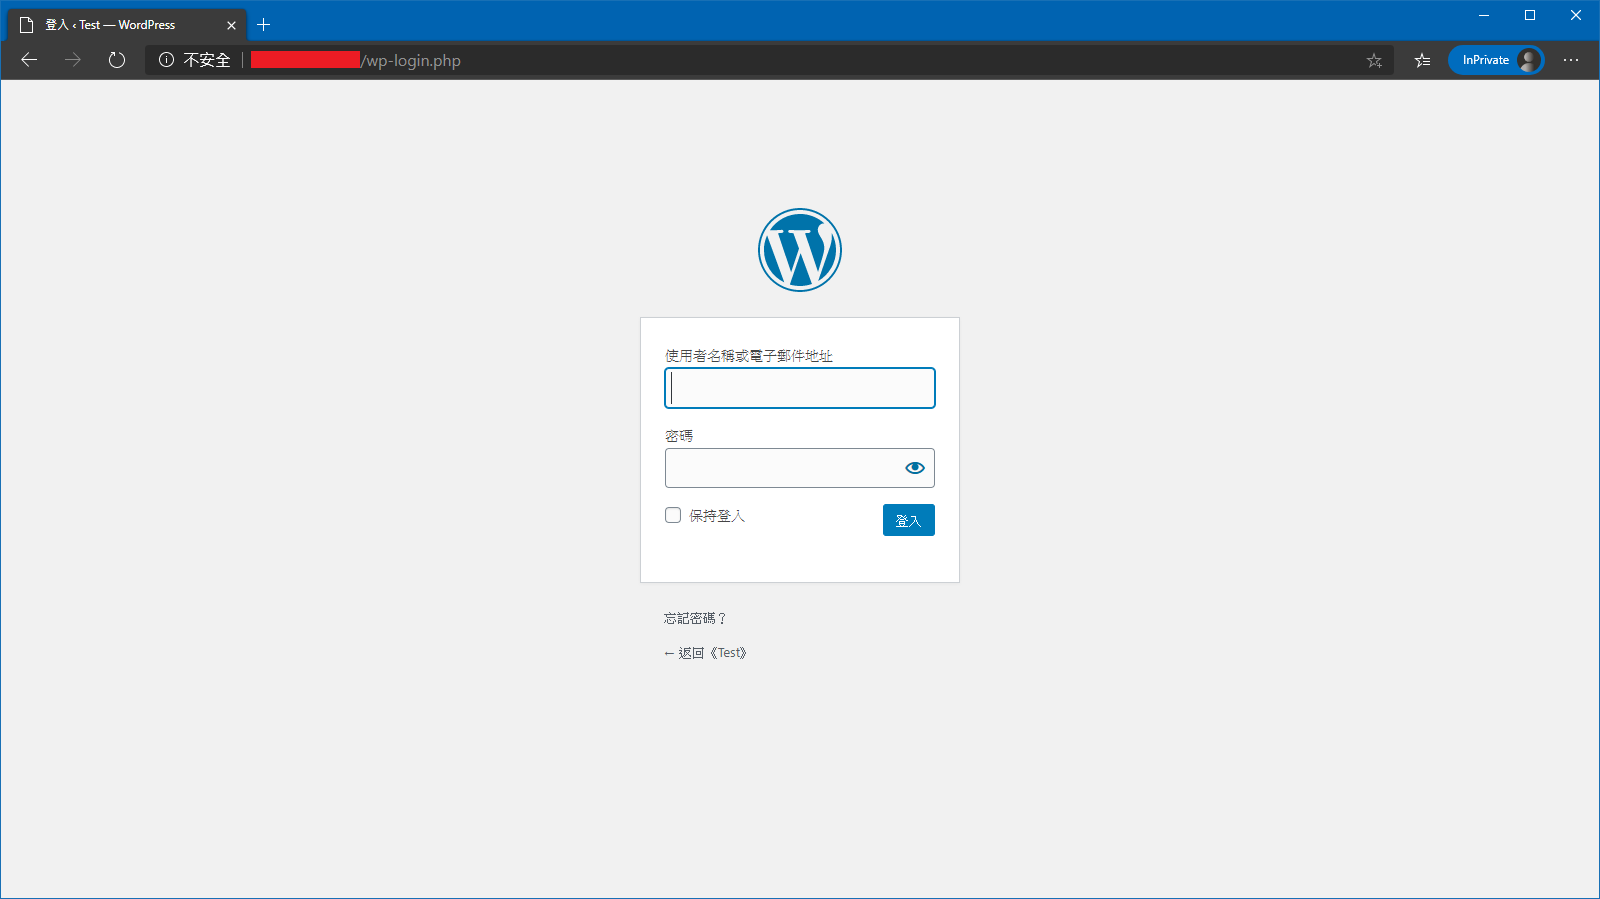
輸入剛剛填寫的帳號及他給的密碼
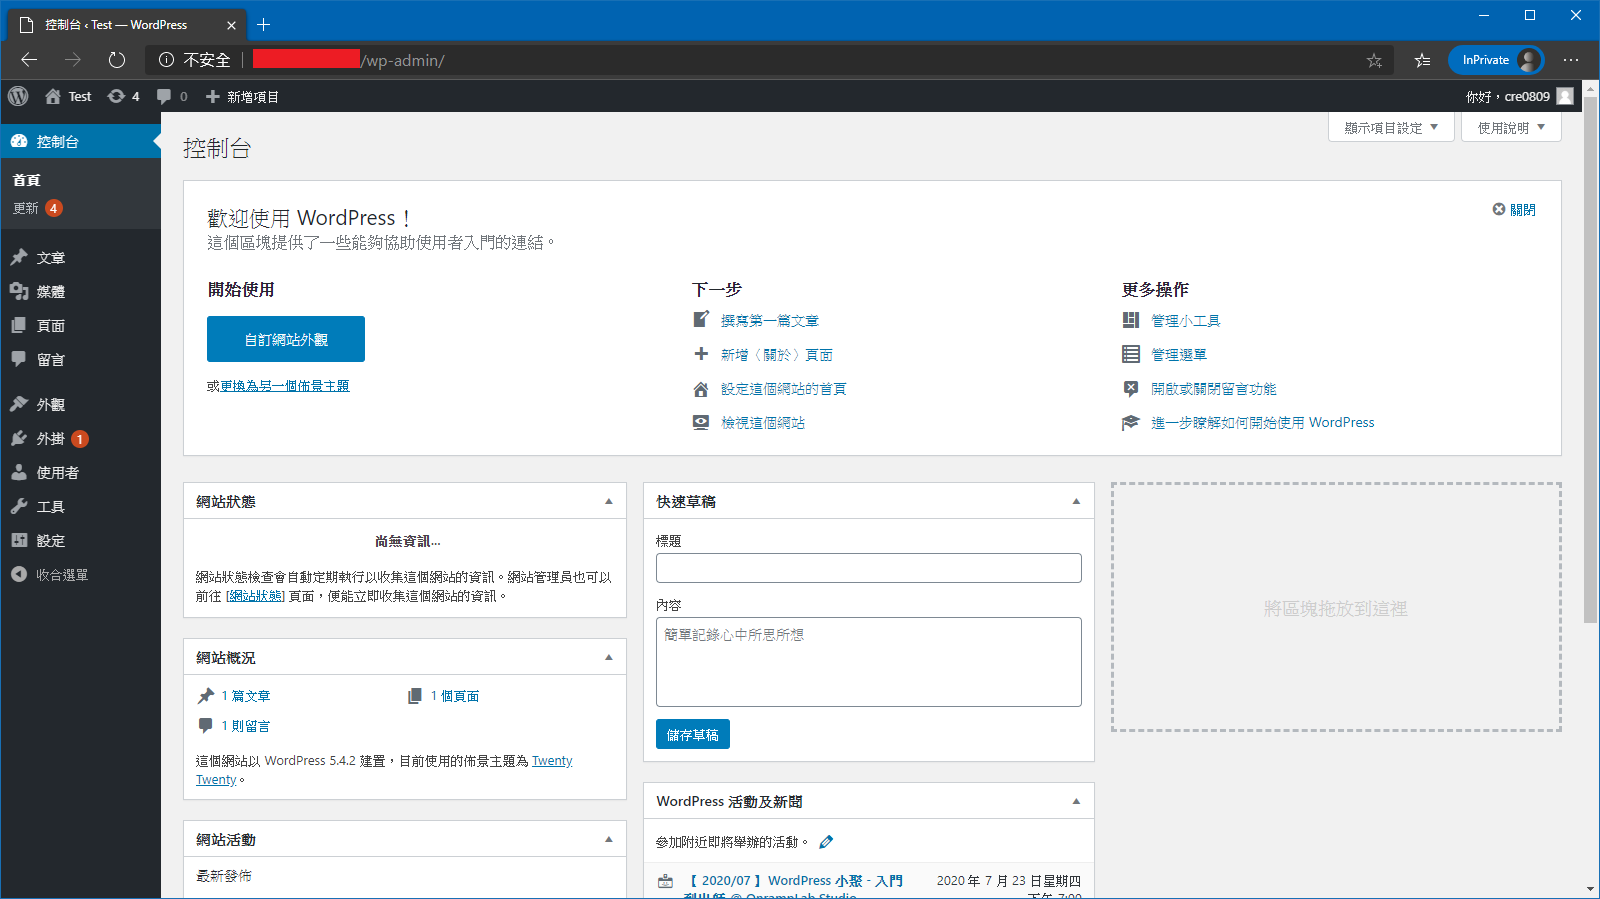
登入後即會到管理介面